Admin
Inboxes
Topkey provides two dedicated inboxes to collect incoming documents before they are processed: the Vendor Inbox holds bills and invoices sent by your vendors, and the Receipts Inbox holds receipt images forwarded by cardholders. Each inbox has its own unique email address that you can share or update as needed.
Vendor Inbox
The Vendor Inbox is a holding area for bills and invoices that have been sent to your account's dedicated bills email address. When vendors email an invoice to that address, it appears in the inbox where Topkey processes it automatically. You can also monitor processing status and retry any items that encountered an error.
Navigating to the Vendor Inbox
- In the left navigation, select Bill Pay.
- Select Inbox from the expanded menu.
You will see the Bills Inbox page, which lists all received emails organized by date, status, and sender or subject.
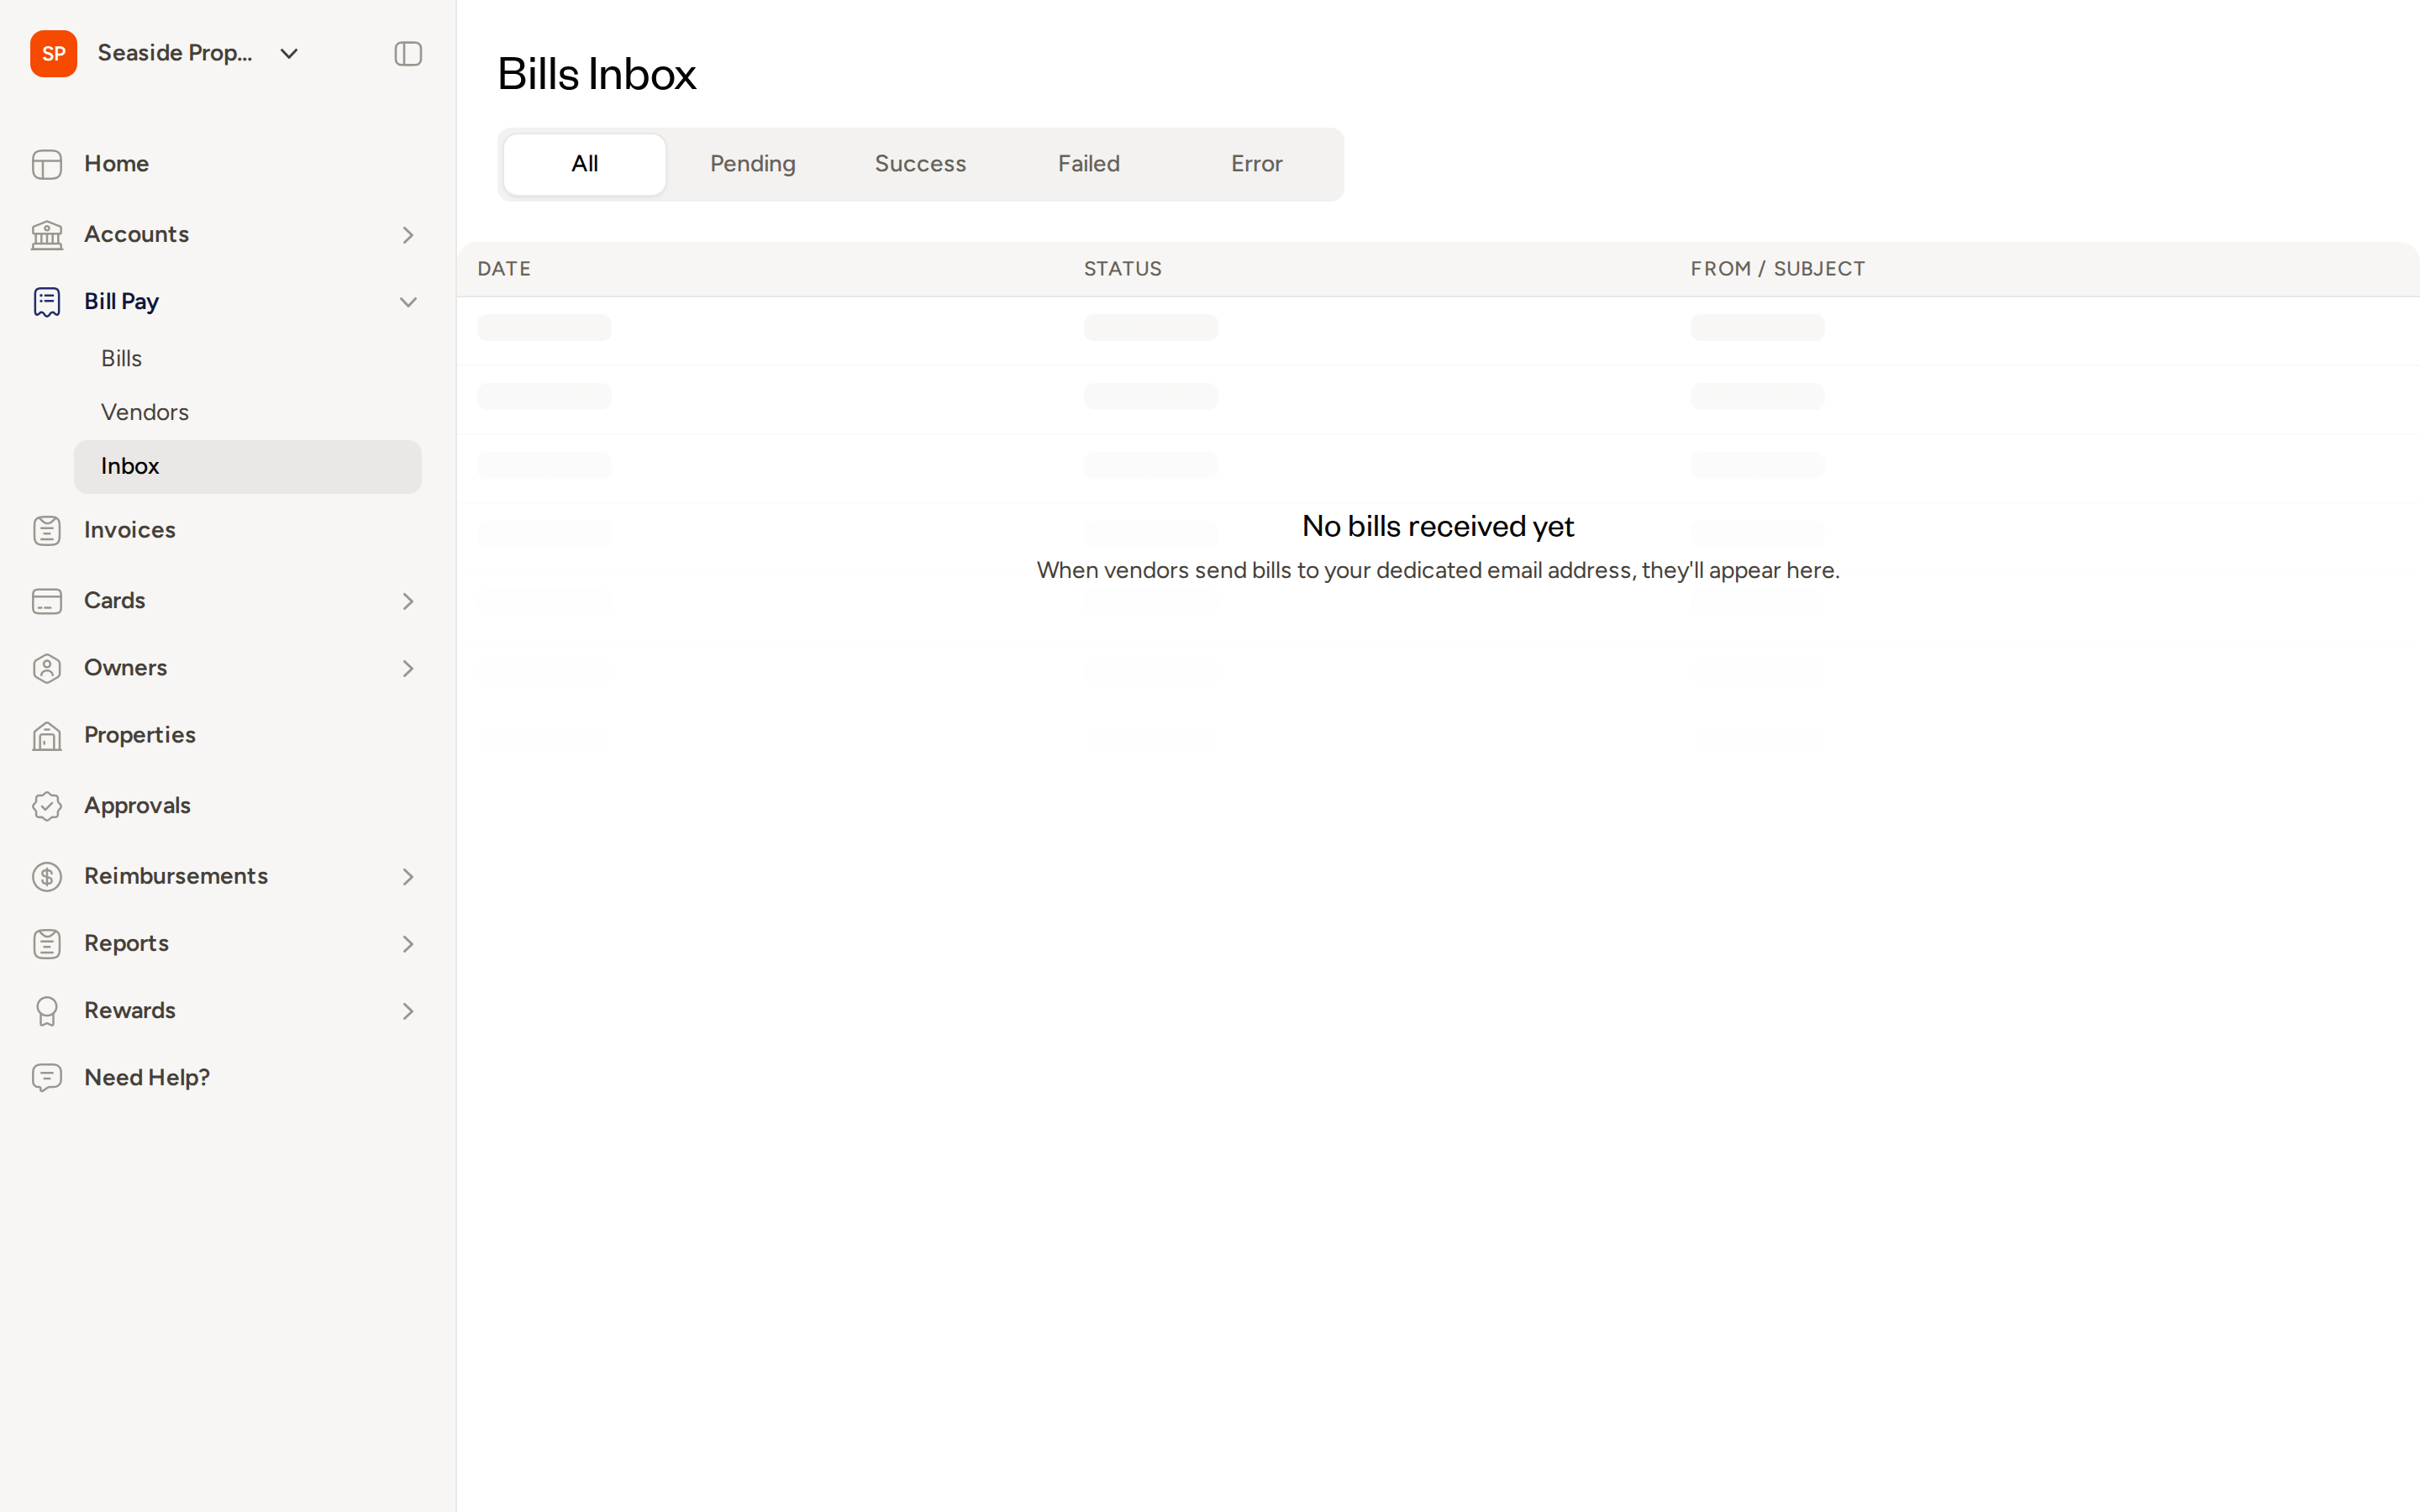
Filtering inbox items by status
The Bills Inbox includes tabs that let you filter items by their processing status:
- All — shows every received email regardless of outcome
- Pending — items that are currently being processed
- Success — items that were processed successfully
- Failed — items that could not be processed
- Error — items that encountered a system error during processing
Select any tab to narrow the list to that status. If an item shows a Failed or Error status, you can retry processing it directly from the item's detail view.
How bills arrive in the Vendor Inbox
Bills reach the Vendor Inbox through email forwarding. Each Topkey account has a unique bills email address. You can:
- Share it with your vendors so they send invoices directly to it.
- Forward invoices yourself from your own email to that address.
To find your account's bills email address:
- Navigate to Bill Pay → Bills.
- Click Send by Email.
- Your account's unique forwarding address is displayed. Copy it and share it as needed.
Your bills email address is unique to your account. Anyone who sends an invoice to this address will have it routed directly into your Vendor Inbox.
Updating the Vendor Inbox email address
To change the email address used for your Vendor Inbox:
- Navigate to Settings → Inboxes.
- Update the forwarding address on that page and save your changes.
If you update your Vendor Inbox email address, make sure to share the new address with any vendors or team members who were using the old one — emails sent to the previous address will no longer be routed to your inbox.
Receipts Inbox
The Receipts Inbox holds receipt images that have been forwarded to your account's dedicated receipts email address but have not yet been matched to a card transaction. Topkey attempts to match each receipt automatically. Any receipts that cannot be matched automatically remain in the inbox for you to review and match manually.
Navigating to the Receipts Inbox
- In the left navigation, select Cards.
- Select Receipts Inbox from the expanded menu.
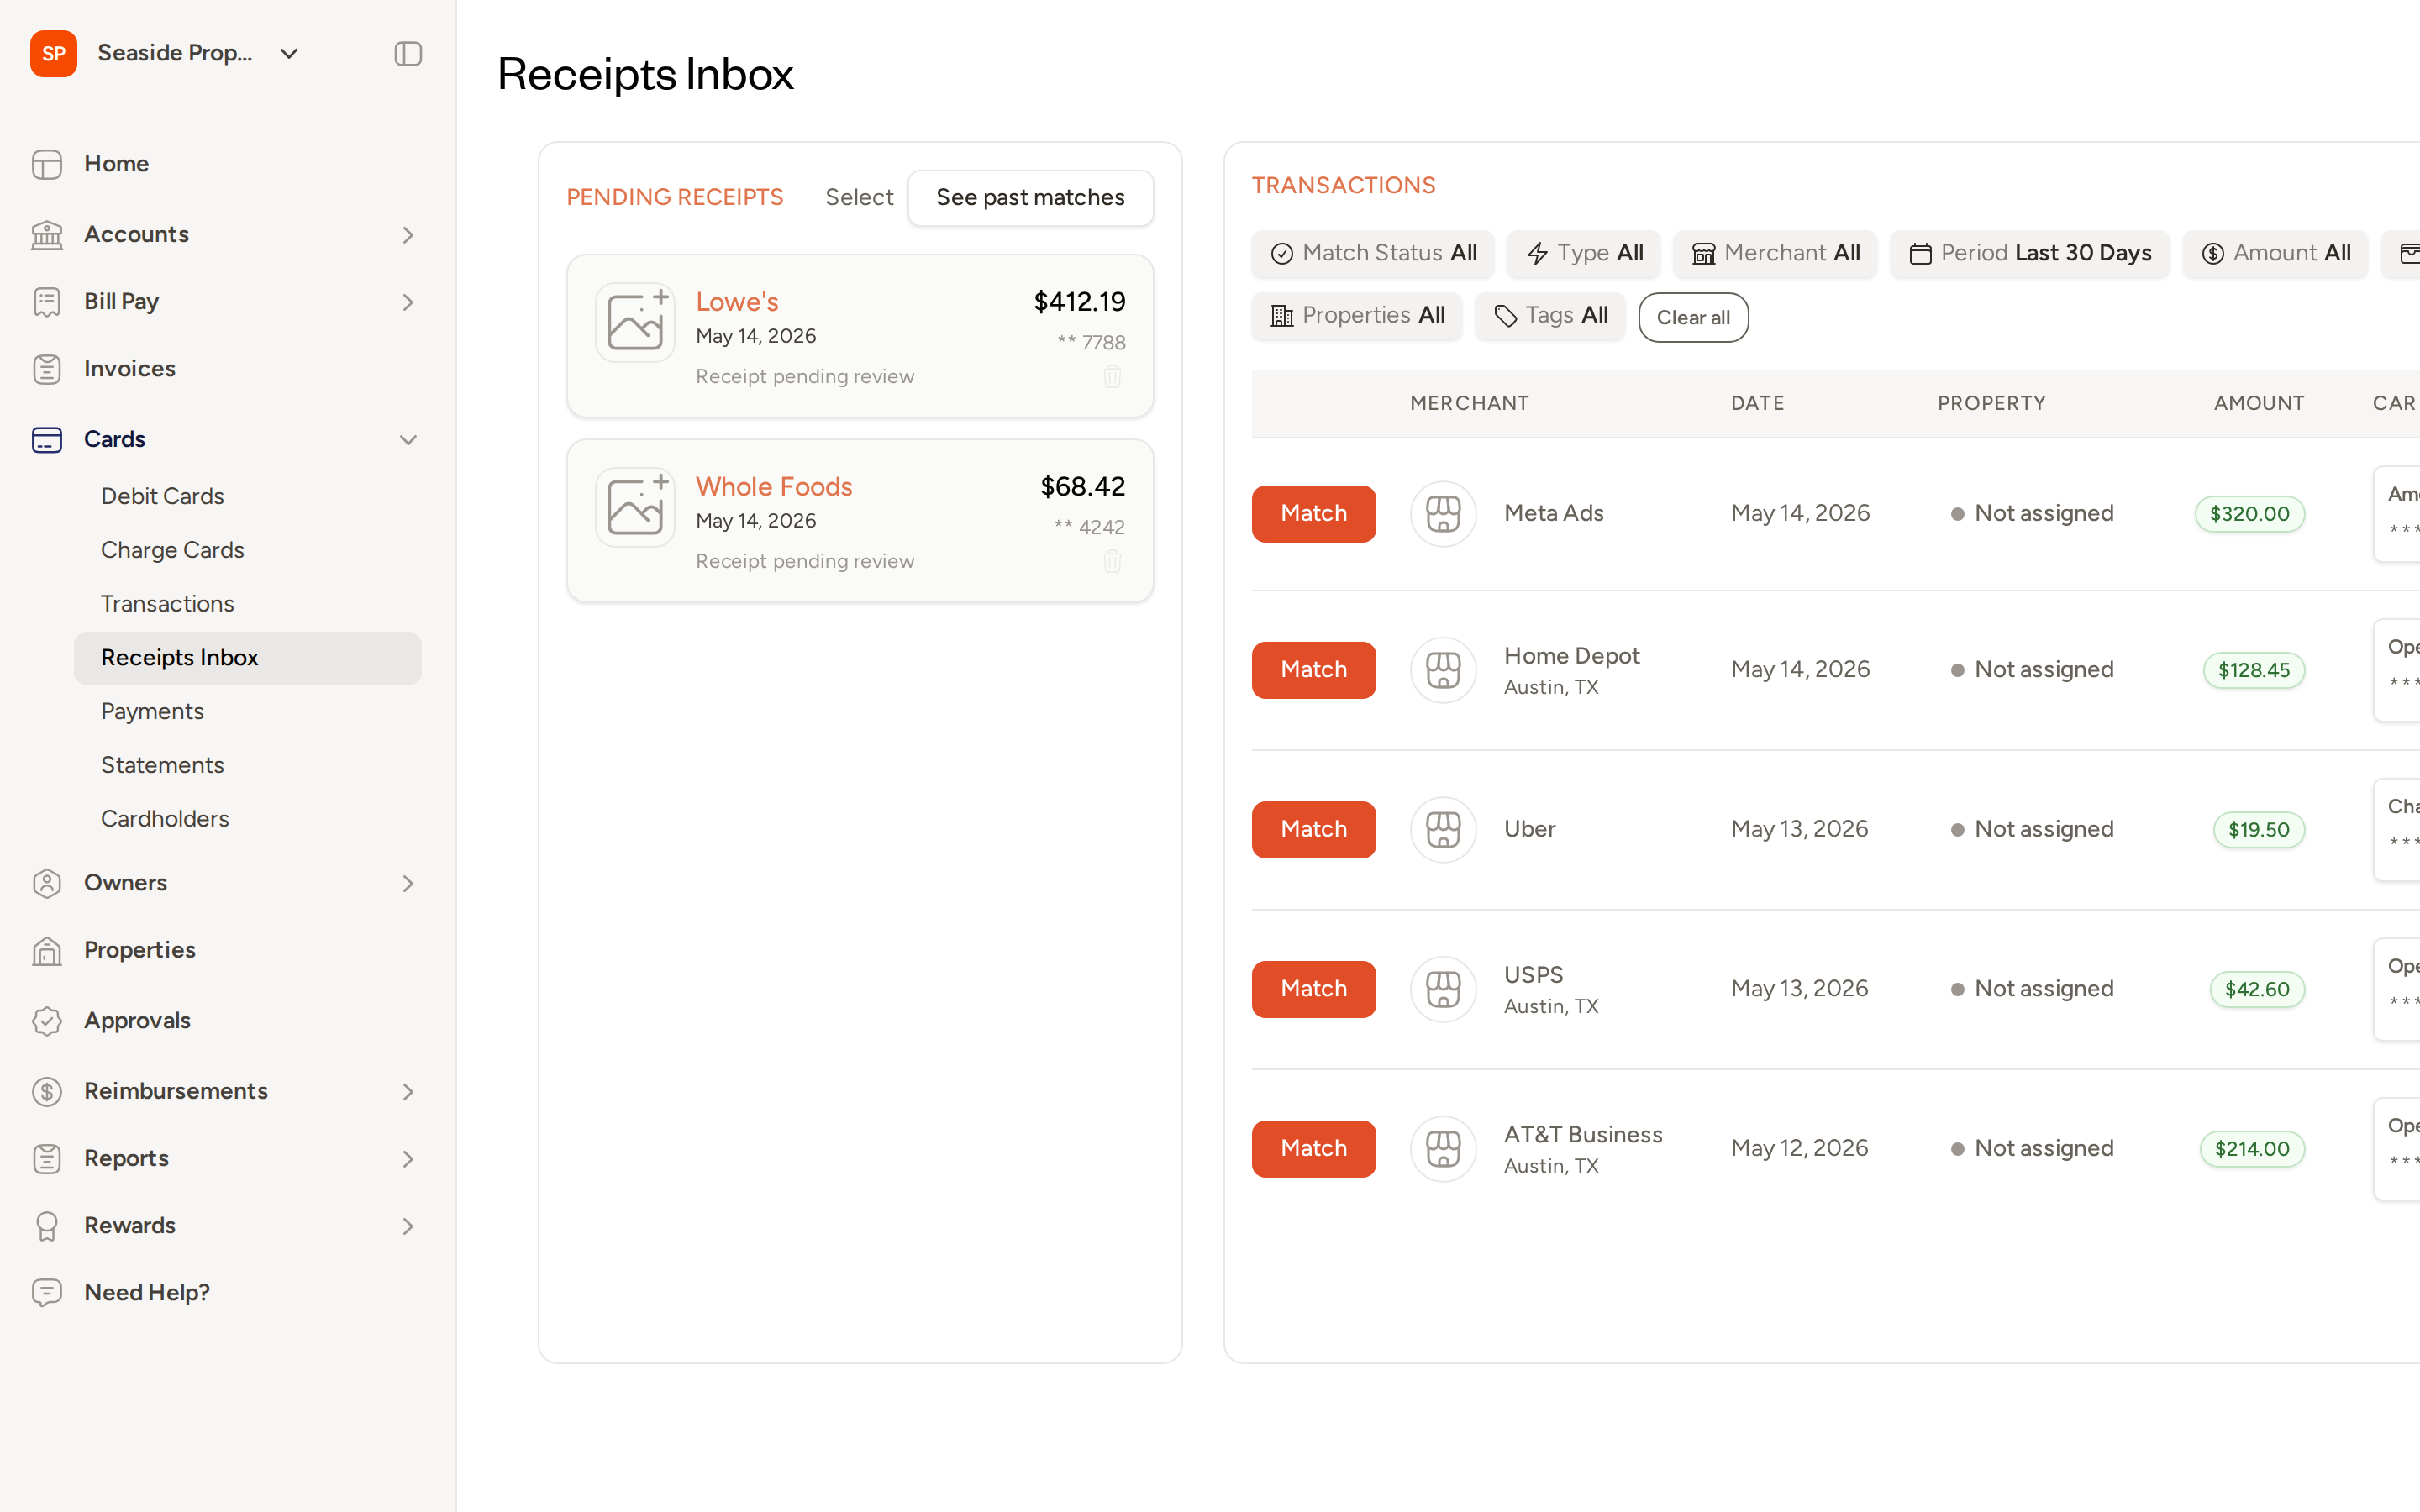
The Receipts Inbox page displays two panels side by side: Pending Receipts on the left and Transactions on the right.
How receipts arrive in the Receipts Inbox
Receipts reach the Receipts Inbox through email forwarding. Cardholders forward a receipt email to your account's dedicated receipts address. Topkey then attempts to match the forwarded receipt to a card transaction based on the amount, card number, and date.
- If a match is found automatically, the receipt is attached to the transaction directly.
- If no match is found, the receipt remains in the Pending Receipts panel until someone matches it manually or removes it.
Reading the Pending Receipts panel
Each item in the Pending Receipts panel shows:
- The merchant name extracted from the receipt
- The receipt amount and date
- The last four digits of the card associated with the receipt (when detected)
- A status note such as "Receipt pending review"
Matching a receipt manually
When Topkey cannot automatically match a receipt to a transaction, you can match it yourself:
- Select the receipt in the Pending Receipts panel on the left.
- Review the transactions listed in the Transactions panel on the right. Use the available filters — Match Status, Type, Merchant, Period, Amount, Properties, and Tags — to locate the correct transaction.
- Click Match next to the correct transaction.
The receipt is attached to that transaction and removed from the pending list.
Use the See past matches button at the top of the Pending Receipts panel to review receipts that have already been matched to transactions.
Topkey uses the receipt amount, card last four digits, and transaction date to find automatic matches. Receipts that are ambiguous — for example, when multiple transactions share the same amount on the same date — may be flagged for manual review so you can confirm the correct match.
Removing an unmatched receipt
If a receipt in the inbox does not correspond to any transaction and should be removed:
- Select the receipt or receipts you want to remove.
- Use the delete action to discard the selected receipt(s).
An undo option appears briefly after deletion in case you need to restore a receipt.
Receipts Inbox Settings
You can view and update your account's receipts forwarding address from the settings page.
Finding and updating the receipts email address
- Navigate to Settings → Cards → Receipts Inbox.
- Your current receipts email address is displayed under Receipts Email.
- To copy the address, click Copy.
- To update the address, type a new prefix in the Update Email field and click Save.
- To revert to the default address, click Reset to Default.
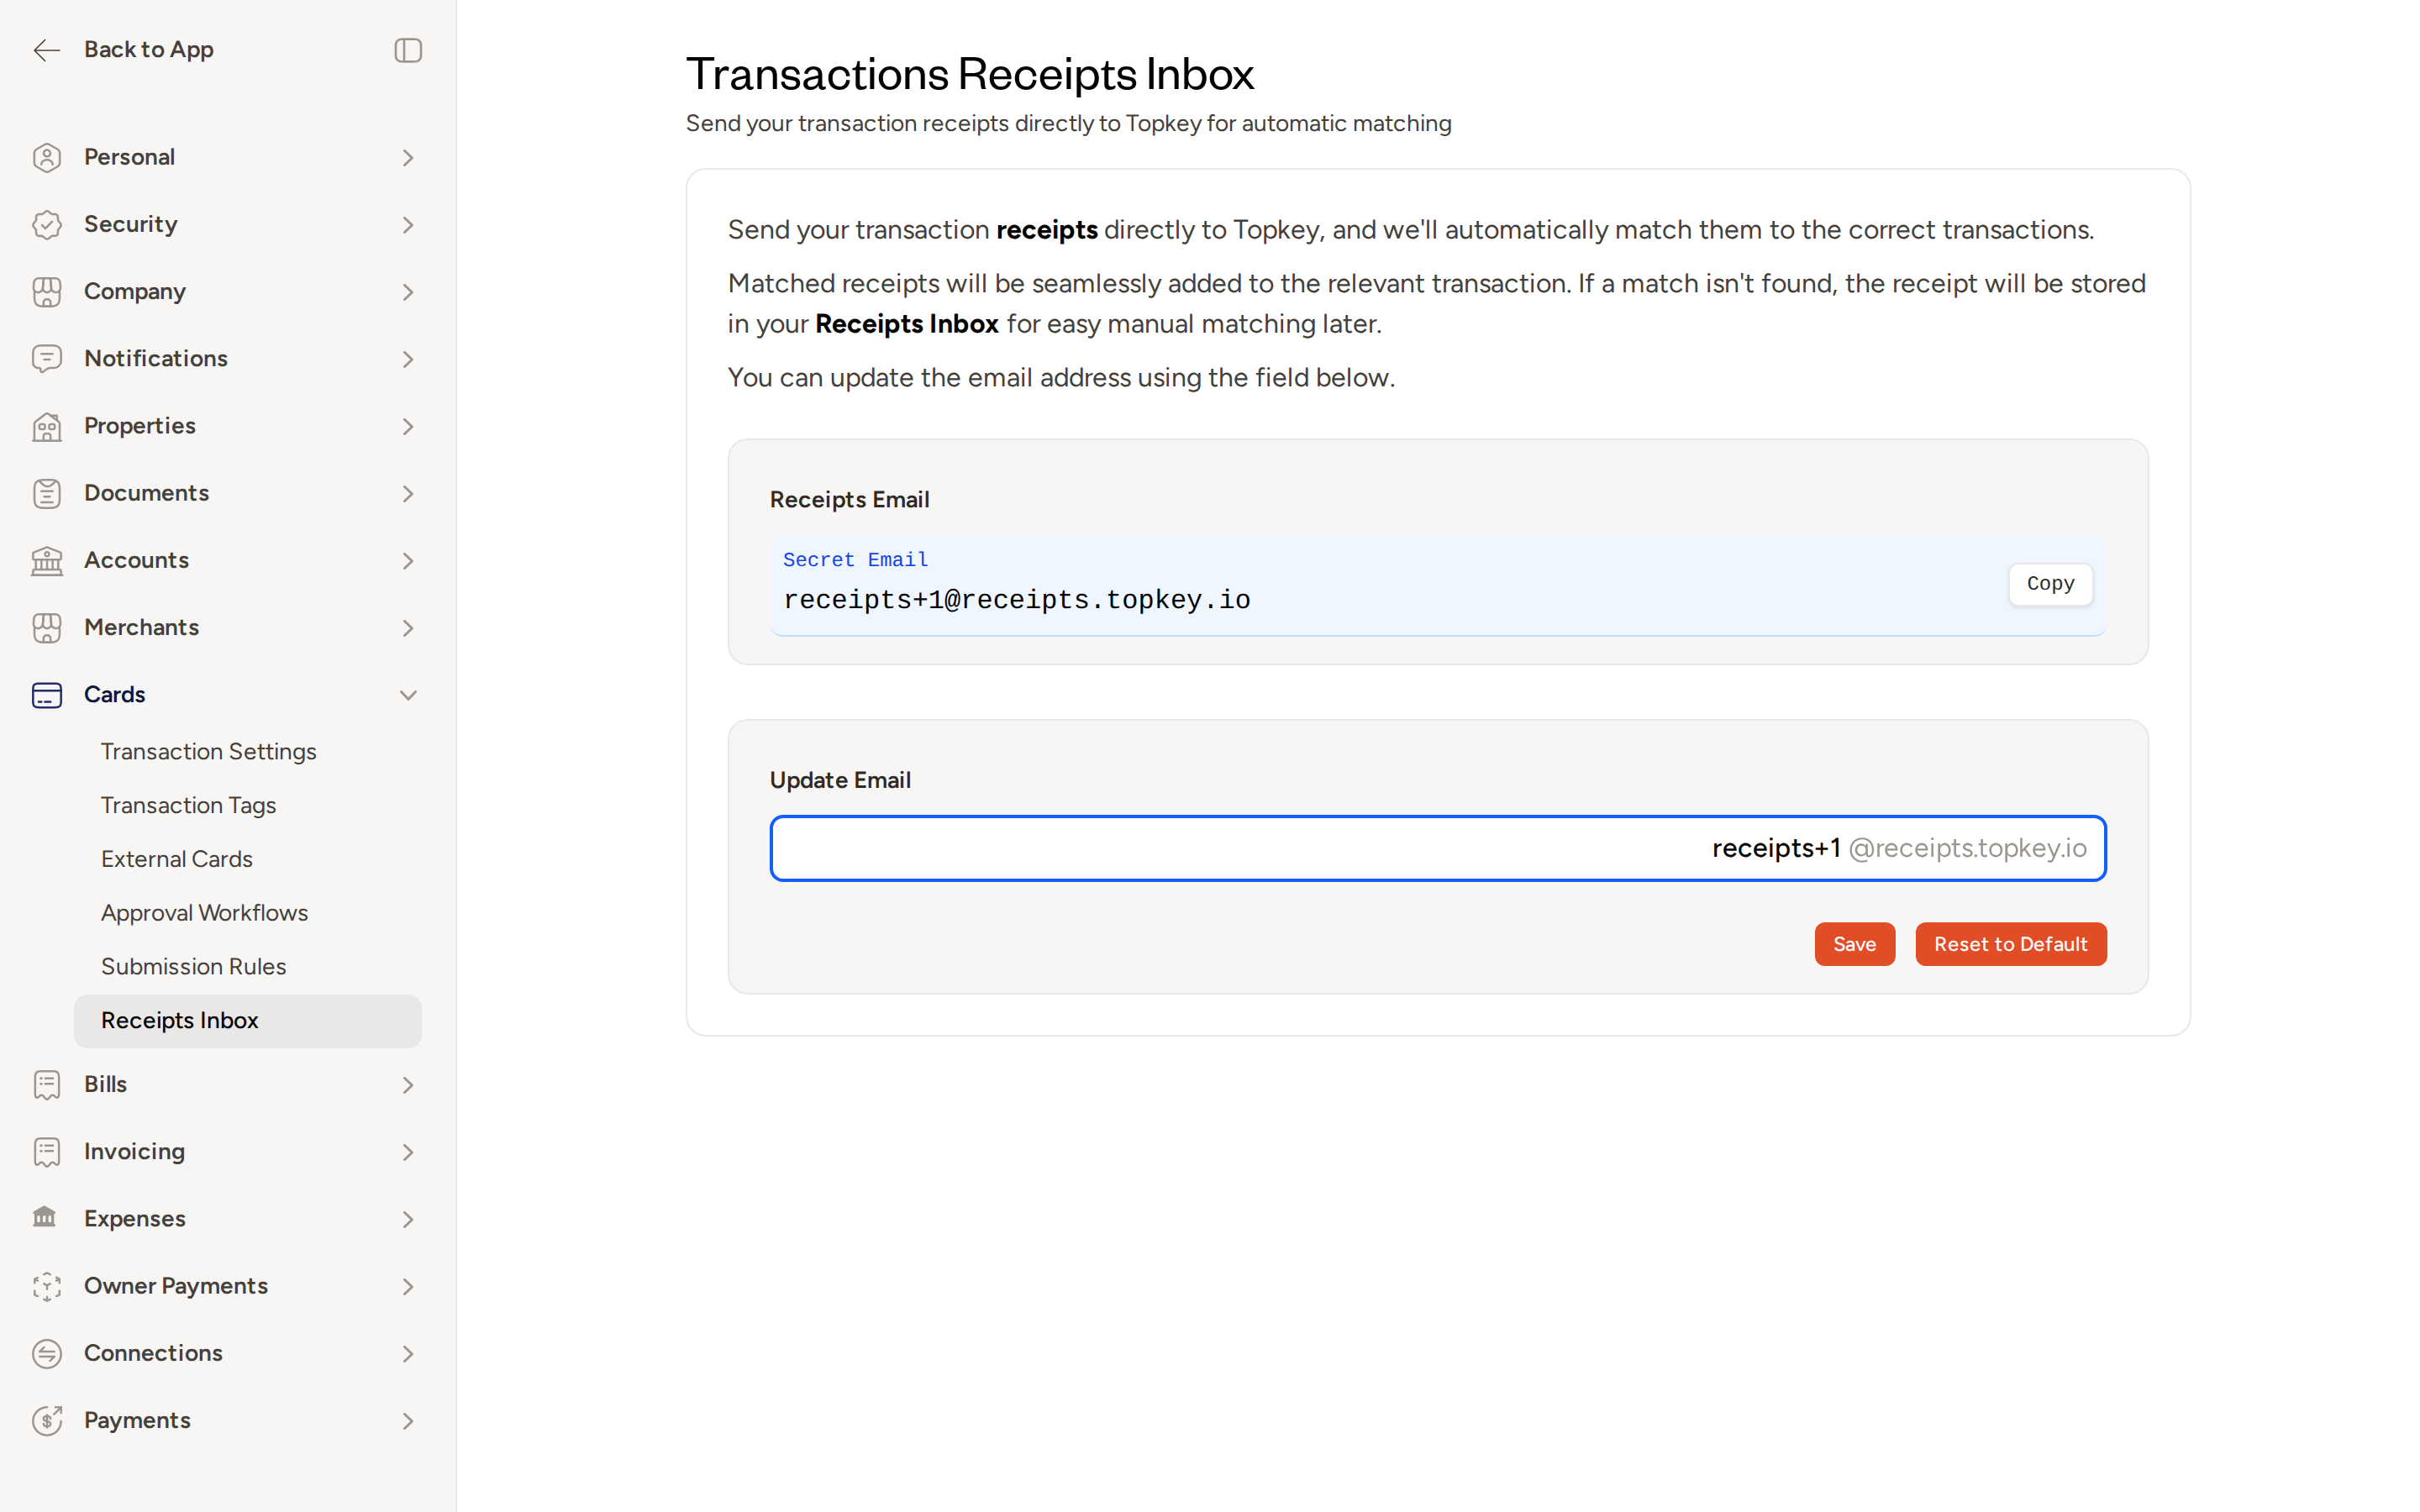
The receipts email address is a secret address — treat it like a password. If you believe it has been shared unintentionally, update it from this settings page and share the new address only with the cardholders who need it.
Frequently Asked Questions
How do I make sure my vendors send bills to the right place? Navigate to Bill Pay → Bills and click Send by Email to find your account's unique bills forwarding address. Share this address directly with vendors or forward their invoices to it yourself from your own email account. All emails sent to this address will appear in your Vendor Inbox.
Why is a receipt still showing in the Receipts Inbox after it was forwarded? A receipt stays in the Pending Receipts panel when Topkey cannot automatically find a matching transaction. This can happen if the amount, date, or card number on the receipt does not closely align with any open transaction. Select the receipt and use the Match button next to the correct transaction in the Transactions panel to attach it manually.
Can I customize my transactions export to be just based on the filters I have set? Yes. In the Receipts Inbox, use the available filters — including Match Status, Merchant, Period, Amount, Properties, and Tags — to narrow the transactions shown. If you need a full export of transaction data with custom filters applied, navigate to Reports to access the transactions download. If you need assistance configuring an export, Contact Support.