Integrations
QuickBooks Integration
Topkey's accounting integration keeps your books up to date by pushing card transactions, bills, and invoices to your accounting system and pulling vendors and GL codes back into Topkey. Once connected, you can eliminate manual journal entries — approved expenses are pushed to QuickBooks with a single sync action instead of being re-entered by hand.
Supported Accounting Systems
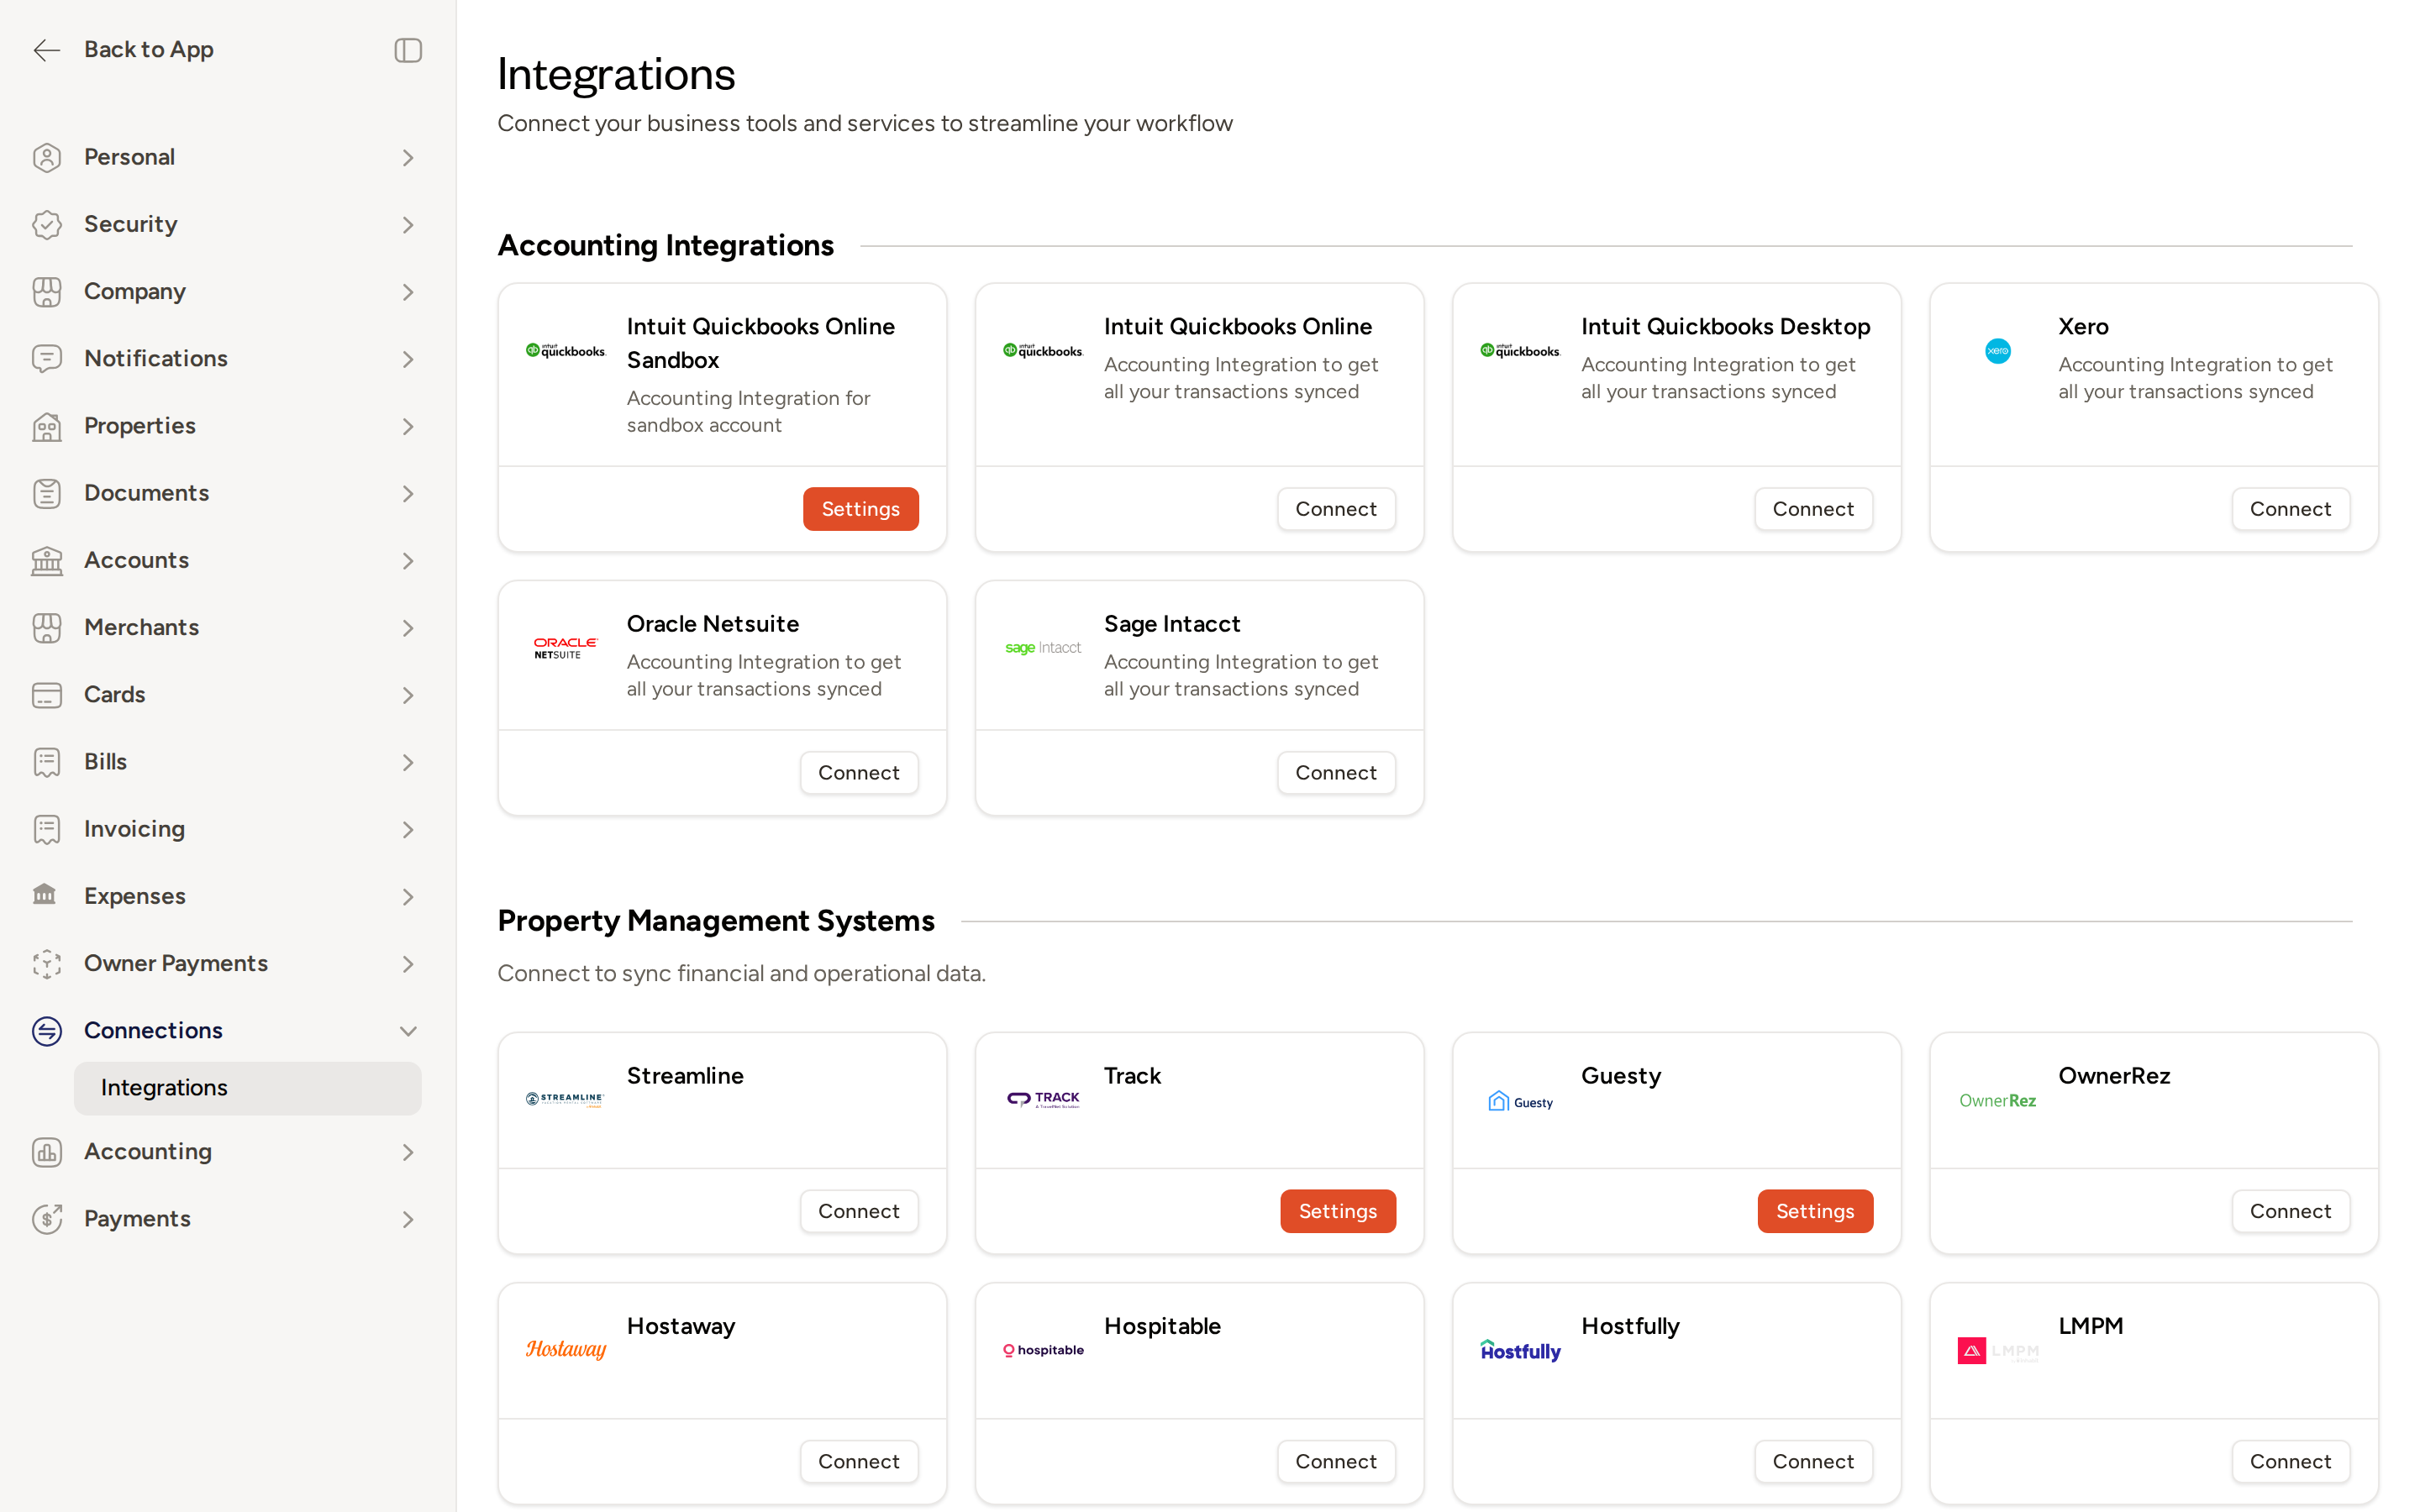
Topkey connects to the following accounting platforms:
- Intuit QuickBooks Online
- Intuit QuickBooks Desktop
- Xero
- Sage Intacct
- Oracle NetSuite
The sections below use QuickBooks Online as the primary example, but the configuration options described — Chart of Accounts, Tracking Categories, GL Code Rules, and vendor sync — apply to all supported platforms.
What the Integration Does
The accounting integration provides a two-way data flow between Topkey and your accounting system:
Topkey pushes to your accounting system:
- Card transactions (after manual sync)
- Bills (after manual sync)
- Invoices and owner charges
Topkey pulls from your accounting system:
- GL codes (your chart of accounts)
- Vendors and suppliers
- Tracking categories (Classes, Locations, Departments, and equivalent groupings depending on your platform)
Setting Up the Connection
QuickBooks Online
- In the left navigation, select Connections, then click Integrations.
- Under Browse Integrations → Accounting, click Intuit QuickBooks Online.
- You are redirected to QuickBooks to authorize access. Sign in to QuickBooks and approve the connection.
- After approving, you are returned to Topkey. Your QuickBooks company is listed under Your Connections with a green Connected status.
If you need to re-authenticate or update your QuickBooks connection later, return to Connections → Integrations, find your QuickBooks entry, and click Manage. This opens the connection manager where you can re-link or disconnect.
QuickBooks Desktop
- In the left navigation, select Connections, then click Integrations.
- Under Browse Integrations → Accounting, click Intuit QuickBooks Desktop.
- Complete the authorization steps presented on the connection screen to link your Desktop company file.
- After completing the flow, you are returned to Topkey and your connection appears under Your Connections.
Xero
- In the left navigation, select Connections, then click Integrations.
- Under Browse Integrations → Accounting, click Xero.
- You are redirected to Xero to authorize access. Sign in and approve the connection.
- After approving, you are returned to Topkey and the connection appears under Your Connections.
Sage Intacct
- In the left navigation, select Connections, then click Integrations.
- Under Browse Integrations → Accounting, click Sage Intacct.
- On the Sage Intacct connection screen, enter your Sage Username, Password, and Company ID.
- Save your credentials to complete the connection.
Oracle NetSuite
- In the left navigation, select Connections, then click Integrations.
- Under Browse Integrations → Accounting, click Oracle Netsuite.
- Complete the authorization steps presented on the connection screen.
- After completing the flow, you are returned to Topkey and your connection appears under Your Connections.
Configuring the Integration
After connecting your accounting system, complete the configuration steps below before syncing any data. Navigate to Accounting in the left navigation to access all configuration pages.
Chart of Accounts
The Chart of Accounts page (found under Accounting → Chart of Accounts) displays every GL account pulled from your connected accounting system. Each account has an Active toggle. Only active accounts are available when you or your team members code transactions, bills, and other items in Topkey.
Use this page to deactivate any accounts that are not relevant to your Topkey workflow — for example, accounts used for other business units, legacy accounts, or accounts you never want staff to select by mistake. Deactivating an account here has no effect on your accounting system; it only controls what appears in Topkey.

In addition to controlling visibility, you map specific accounts to each transaction type in Settings → Accounting. For example, you select which GL account is used as the clearing or expense account for card transactions, which account receives bill payments, and which income account is used for reservation and owner charges. Topkey pulls the full chart from your accounting system so you can select the correct account for each type.
Previously selected GL accounts continue to appear as options even if they are later deactivated in your accounting system, so existing coding on transactions is preserved.
Tracking Categories
The Tracking Categories page (found under Accounting → Tracking Categories) lists every tracking category pulled from your connected accounting system. Each category has an Active toggle. Only active categories appear as options when your team codes transactions or assigns properties.
Tracking categories are not specific to QuickBooks Online — they work across all supported accounting platforms. The name used for these categories varies by system:
| Accounting System | Tracking Category Name |
|---|---|
| QuickBooks Online | Classes & Locations |
| QuickBooks Desktop | Classes & Departments |
| Xero | Tracking categories |
| Sage Intacct | Dimensions / Locations |
| Oracle NetSuite | Classes / Departments |
Why configure tracking categories? If your accounting system has dozens or hundreds of categories — many of which are unused or belong to other parts of your business — this page lets you deactivate irrelevant ones to keep the coding experience clean and reduce the chance of miscoding. For example, a property management company with 50 QuickBooks classes might actively manage only 20 properties in Topkey. Deactivating the other 30 classes keeps the transaction categorization list focused and prevents staff from selecting the wrong class by mistake.
Changes on the Tracking Categories page do not affect your connected accounting system in any way. They only control which categories Topkey displays to your team.
When tracking categories are enabled, Topkey prompts the person coding a transaction to select the appropriate class or location before the transaction can be pushed to your accounting system.
Vendor Sync
To import your accounting system's supplier list into Topkey Bill Pay:
- Go to Settings → Accounting.
- Enable Pull vendors from accounting.
With this setting on, Topkey imports your vendor records from your accounting system and keeps them in sync with your Bill Pay vendor list. This avoids duplicate vendor entries and ensures that bills pushed to your accounting system reference the correct supplier.
You can optionally also enable Pull vendor addresses from accounting to include address details in the imported vendor records.
Advanced Configuration
GL Code Rules
Navigate to Accounting → GL Code Rules to set up automatic GL code assignment. A GL Code Rule tells Topkey to assign a specific GL code whenever a transaction matches a particular combination of property and expense category — eliminating repetitive manual coding for predictable expense types.
For example, you can create a rule that automatically assigns your Maintenance & Repairs GL code to any maintenance expense at a specific property.
GL Code Groups
Navigate to Accounting → GL Code Groups to restrict which GL codes specific cardholders, users, roles, or property groups are allowed to select when coding transactions. This keeps each team member focused on only the accounts relevant to their work and reduces the risk of miscoding to the wrong account.
Merchant Category Code (MCC) Mapping
In Settings → Accounting → Configuration, you can map merchant category codes to specific GL codes. When Topkey receives a card transaction from a merchant in a mapped category — for example, hardware stores or fuel stations — it automatically assigns the GL code you've specified for that merchant type.
Cardholder Default Departments
Navigate to Accounting → Cardholder Departments to assign a default tracking-category department to individual cardholders. You can update cardholders one at a time or select multiple cardholders and apply a department in bulk. When a default department is set, Topkey pre-populates that department when the cardholder submits a transaction, reducing coding time.
Pushing Data to Your Accounting System
Card Transactions
Card transactions do not sync to your accounting system automatically after they are approved. You must push them manually:
- Navigate to Accounting → Transactions.
- Select the transactions you want to push using the checkboxes.
- Click Sync to QuickBooks (or the equivalent label for your accounting system).
Topkey queues the selected transactions and pushes them to your accounting system. Only push transactions that have been fully coded and approved — incomplete transactions may cause errors in your accounting system.
Bills
Bills also do not sync automatically when they are approved or paid. You must push them manually from one of two locations:
- Accounting → Sync → Bills tab: Select bills and push them in bulk.
- Bill Pay → Bills: Open an individual bill and push it from the bill detail view.
Never assume a bill has reached your accounting system simply because it was approved or marked as paid in Topkey. Always confirm the push was completed from the Accounting Sync or Bill Pay view.
Reservations and Owner Charges
Reservation income and owner charges can be mapped to QuickBooks income accounts in Settings → Accounting. Once mapped, these items can be pushed to your accounting system alongside your expense transactions.
Manually Triggering a Data Sync
If you need to refresh a specific data type — for example, to pull an updated chart of accounts or re-import bill payment records — you can trigger a manual sync from the accounting integration settings page:
- Navigate to Connections → Integrations and click Manage next to your accounting connection.
- Use the Sync button next to the relevant data type (for example, Chart of Accounts or Bill Payments) to trigger an immediate refresh.
Tips for a Smooth Setup
Run a test sync with a single transaction before pushing a full month of data. Confirm the transaction appears correctly in your accounting system — with the right GL code, vendor, and tracking category — before processing in bulk.
If a sync fails, navigate to Accounting → Sync to view the sync queue. Each failed item displays an error message explaining what went wrong, so you can correct the issue and retry.
Frequently Asked Questions
Do transactions sync automatically when a cardholder submits or a manager approves an expense? No. Card transactions require a manual push from Accounting → Transactions. Select the transactions you want to send and click Sync to QuickBooks. Nothing is pushed automatically at any point in the approval workflow.
Do bills sync automatically when they are approved or paid in Topkey? No. Bills must be pushed manually from Accounting → Sync → Bills or from the Bill Pay → Bills view. Approving or paying a bill in Topkey does not trigger an automatic sync to your accounting system.
Can I connect more than one accounting system at a time? Topkey supports one active accounting integration per account. If you need to switch platforms — for example, migrating from QuickBooks Online to Xero — disconnect the existing integration first, then connect the new one.
What should I do if my accounting connection stops working or needs to be re-authorized? Go to Connections → Integrations, find your accounting connection, and click Manage. From there you can re-authenticate your connection. For Sage Intacct, you can update your credentials directly on the settings page. If you continue to experience issues, Contact Support.