Inventory
Storefront & Checkouts
The storefront is a browse-and-cart interface for distributing supplies from a warehouse to one of your rental properties. When you complete a checkout, stock levels are automatically reduced at the source location and a record is saved to your checkout history.
Browsing the Storefront
Navigate to Inventory → Storefront to open the catalog view. All active items in your inventory are displayed as cards showing the item name, SKU, category, current stock level, and price.
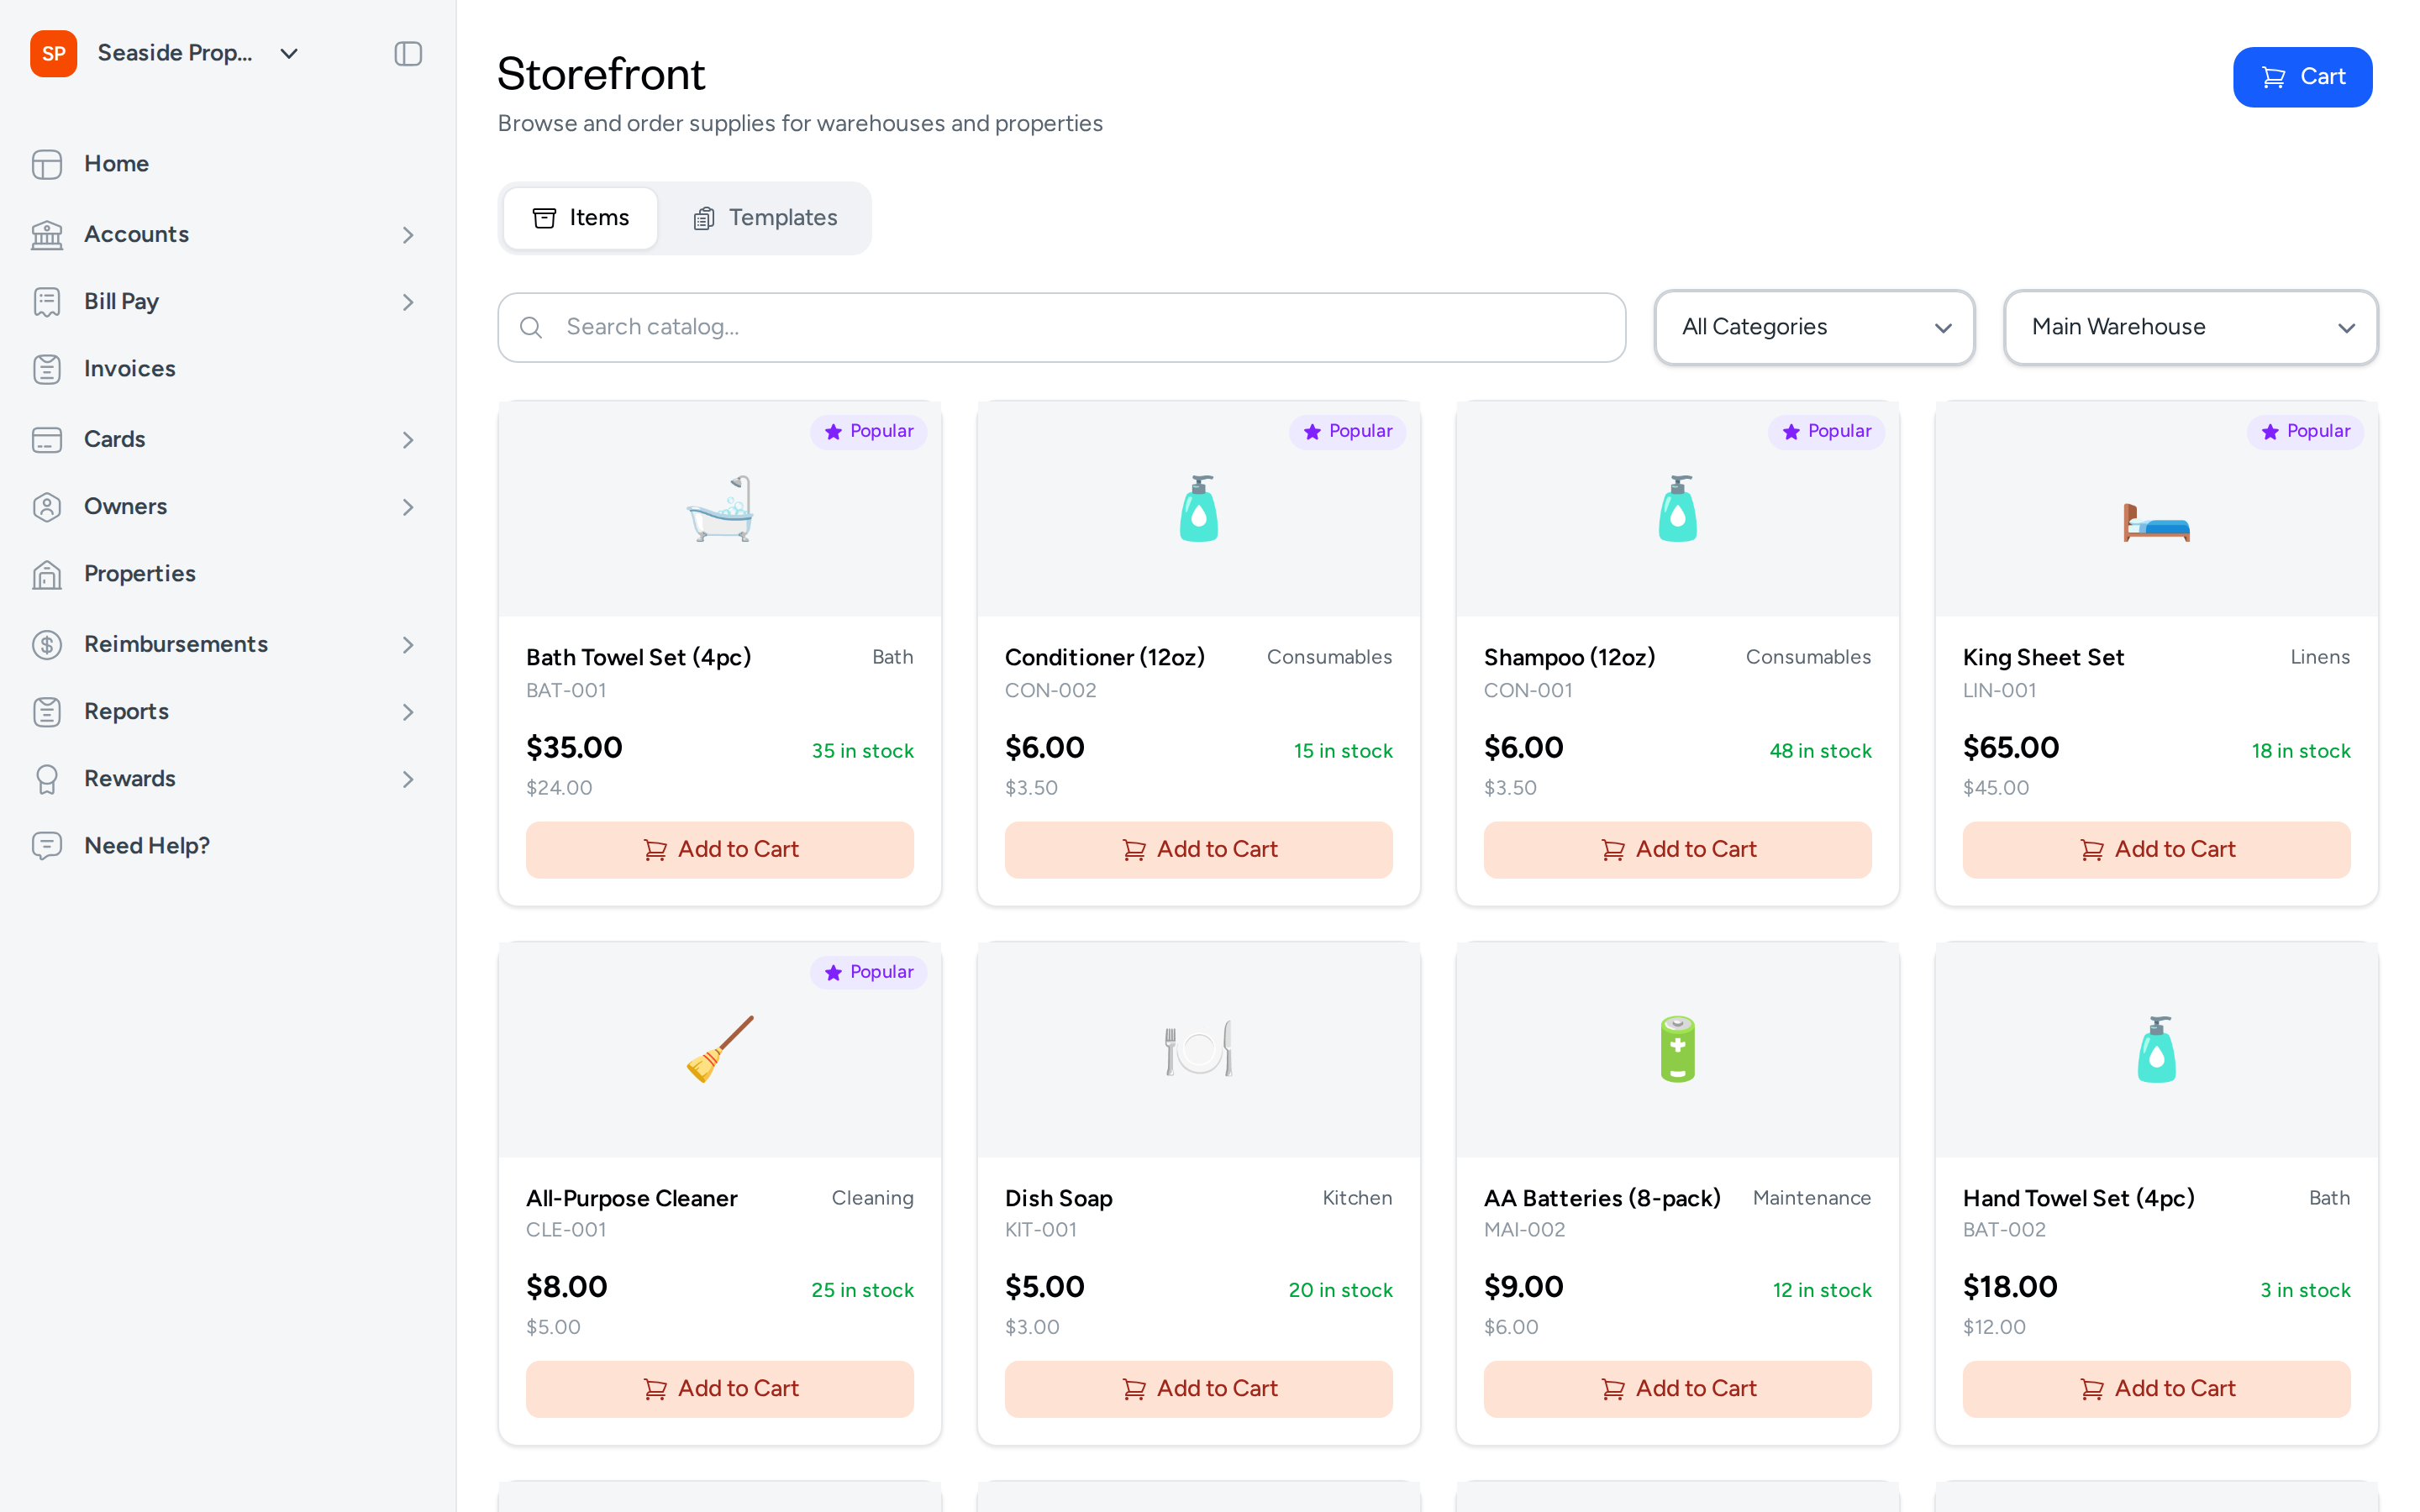
Popular Items
The storefront automatically highlights the five most frequently checked-out items with a Popular badge at the top of the item list. These items rise to the top based on checkout frequency across your account, so the supplies your team reaches for most often are always easy to find.
Filtering by Category or Warehouse
Use the All Categories filter to narrow the catalog to a specific supply category, such as Bath, Linens, or Cleaning. Use the warehouse filter next to it to switch between source locations — the catalog will reflect stock levels for the selected warehouse.
Searching the Catalog
Type in the Search catalog... field to find items by name. Results update as you type.
Using Templates
If your account has inventory templates configured, a Templates tab appears next to the Items tab. Select Templates to load a pre-built collection of items all at once, rather than adding them individually. This is useful for recurring restocks like turnover kits or seasonal setups.
Building Your Cart
- Browse or search for an item you want to check out.
- Select Add to Cart on the item card. The Cart button in the top-right corner displays a badge with the number of items currently in your cart.
- To adjust the quantity of an item, open the cart by selecting Cart and update the quantity directly in the cart panel.
Selecting a Source Location and Destination Property
Before completing a checkout, confirm two key selections in the cart footer:
- Warehouse (source location): Use the warehouse filter above the item grid to choose which warehouse the items will be pulled from. Topkey defaults to the location with the most stock if you have multiple warehouses.
- Deliver to (destination property): In the cart footer, select the property that will receive the items. You must select a property before the checkout can be submitted.
How Prices Are Calculated
When you select a destination property, Topkey resolves the charge price for each item based on that property's pricing rules. A pricing label appears next to the property selection showing how prices are being calculated — for example, "At Cost," a specific markup percentage, or "Markup pricing (varies by item)" when different items carry different markup rules.
- If the property has a markup override configured, that override applies to all items in the checkout.
- If a global markup rule exists, it applies unless a property-level override takes precedence.
- If pricing is set to "At Cost," items are charged at their base cost with no markup.
Completing a Checkout
- Add all needed items to your cart and confirm quantities.
- Select the source warehouse and the destination property.
- Optionally add a note to describe the purpose of the checkout (for example, "Weekend turnover restock").
- Select Complete Checkout. Topkey deducts the checked-out quantities from the source warehouse's stock levels immediately and saves a record to your checkout history.
Kiosk Mode
For shared devices or touch-screen stations in a warehouse, you can enable a simplified checkout interface by adding ?kiosk=true to the storefront URL. In kiosk mode, the page title changes to Supply Checkout and the interface is streamlined for quick, self-service use by staff.
Viewing Checkout History
Navigate to Inventory → Checkout History to see a record of all completed checkouts. Each row in the table shows:
- Date — when the checkout was completed
- User — the team member who submitted the checkout
- From — the source warehouse
- To — the destination property
- Items — the total number of items checked out
- Total — the combined charge value of the checkout
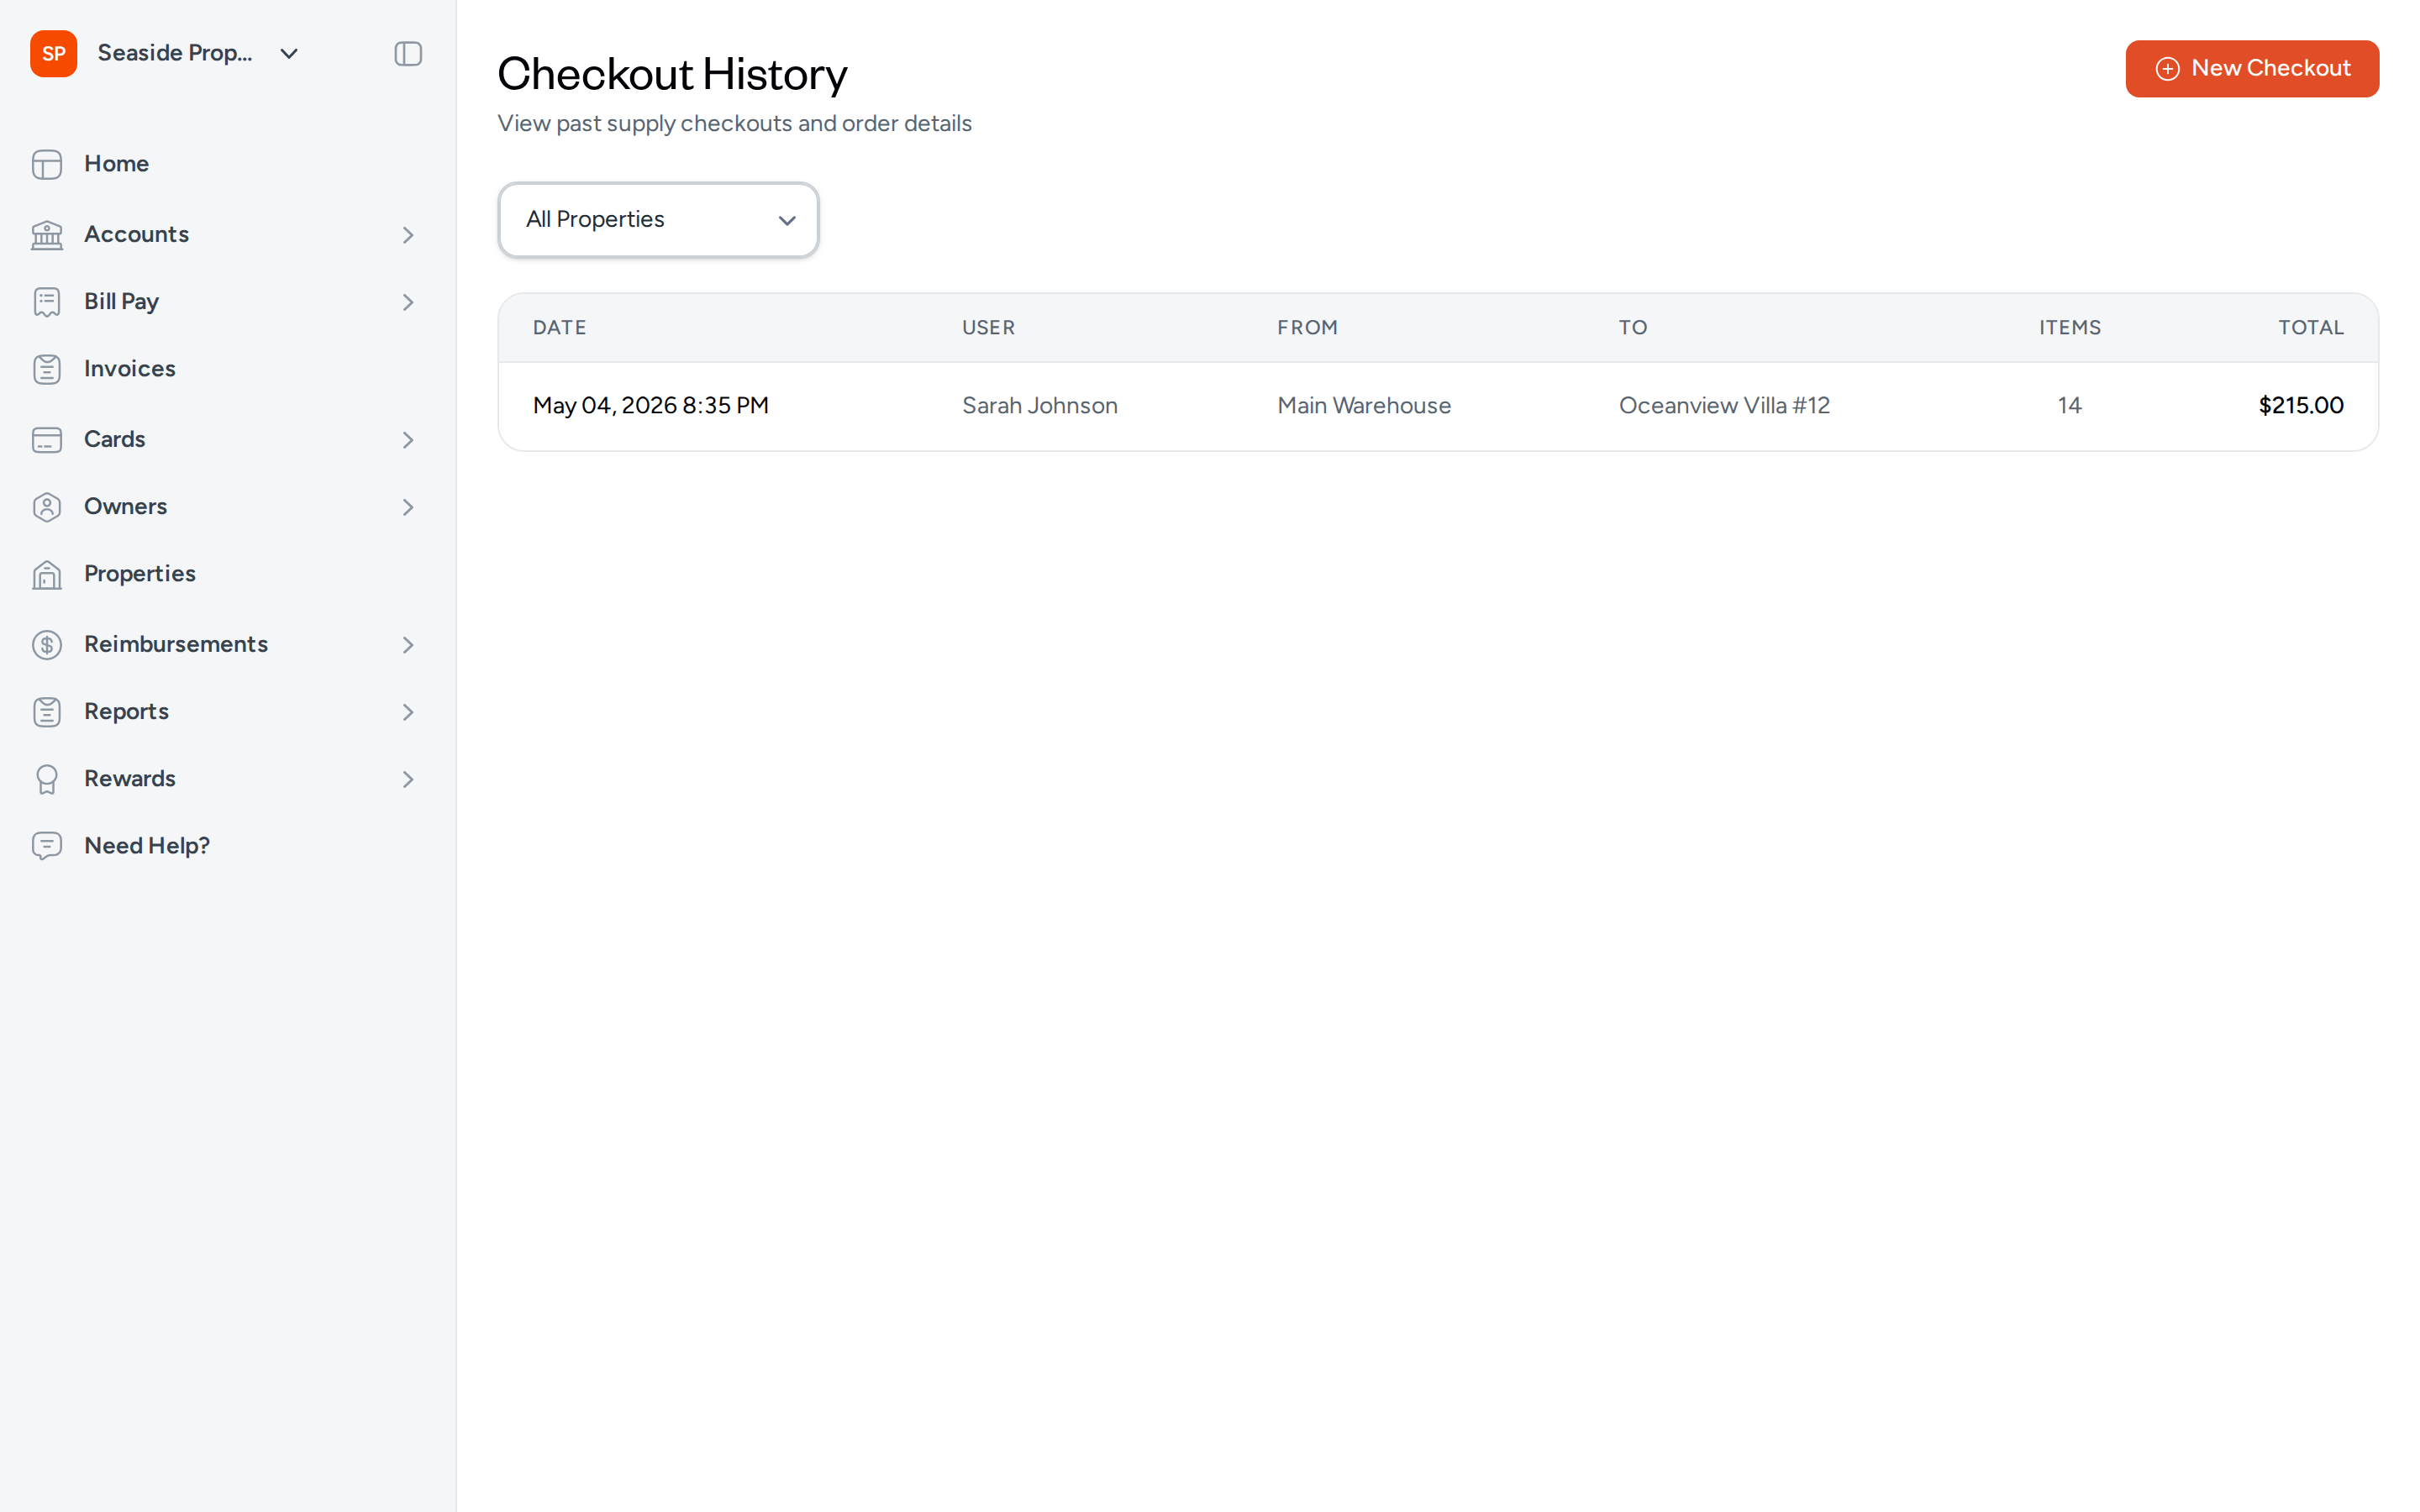
Filtering by Property
Use the All Properties filter above the table to narrow checkout history to a single property. Selecting a property immediately updates the list to show only checkouts delivered to that location.
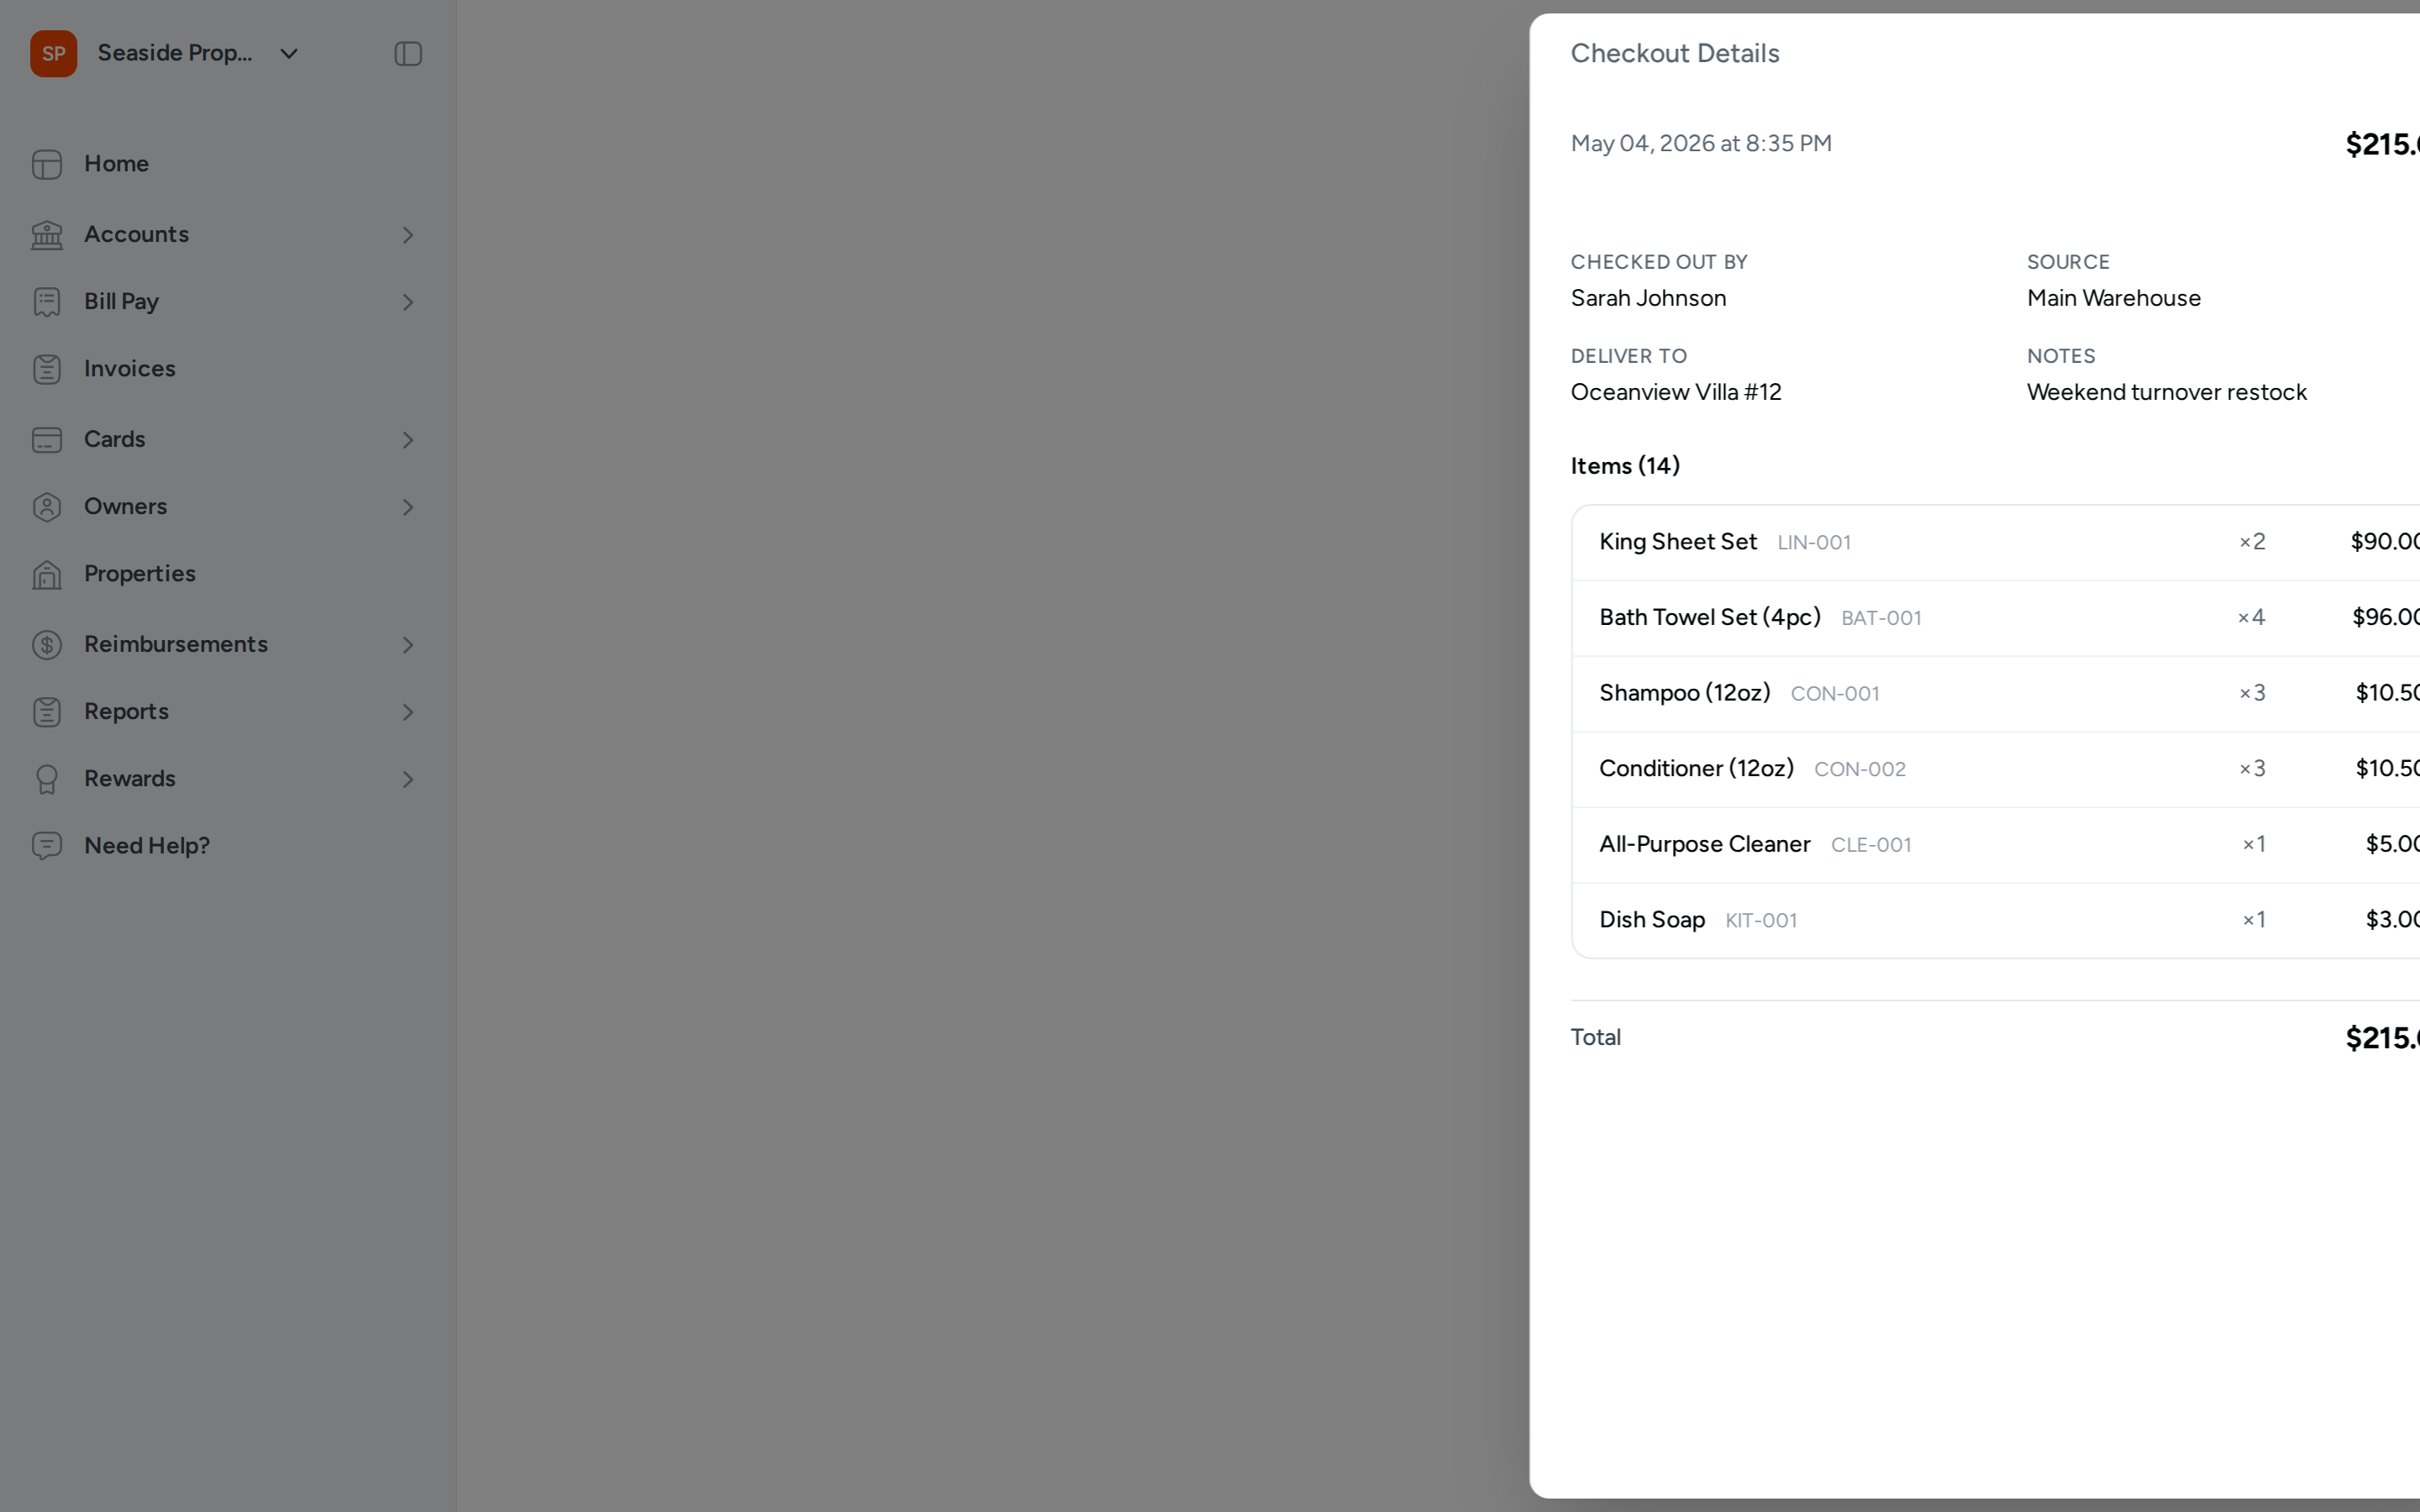
Viewing Checkout Details
Select any row in the Checkout History table to open the Checkout Details panel. This panel shows:
- The date and time of the checkout
- Checked Out By — the user who completed the checkout
- Source — the warehouse the items came from
- Deliver To — the property that received the items
- Notes — any notes recorded at the time of checkout
- A line-item list of every item checked out, including the SKU, quantity, and line total
- A Total at the bottom of the panel
Frequently Asked Questions
What happens to stock levels when I complete a checkout? Topkey immediately deducts the checked-out quantities from the selected source warehouse. The updated stock levels are reflected on the Stock Levels page and in the storefront as soon as the checkout is saved.
Can I check out items to multiple properties in a single checkout? No — each checkout is assigned to a single destination property. If you need to distribute supplies to multiple properties, complete a separate checkout for each one.
How do I correct a checkout that was submitted with the wrong quantity or property? Checkout records cannot be edited after they are submitted. If you need to correct an error, Contact Support for assistance with adjusting stock levels manually.