Transactions
Editing a Transaction
Clicking into any transaction opens the transaction detail view, where you do the day-to-day coding work: attaching receipts, writing memos, splitting charges across properties, assigning GL codes, and reviewing the full change history.
Transaction Header
At the top of the transaction panel you'll see the merchant name, transaction amount, date, and the card and last four digits used for the purchase. Status badges appear here as well — for example, Submitted, Approved, Flagged, or Needs Info — so you can see exactly where the transaction stands at a glance.
Tabs
The main panel is organized into tabs. The tabs you see depend on your account configuration and the transaction type:
- Details — property, category, GL code, splits, memo, and receipt
- Activity — the full change history and comments for this transaction
- Webform — the cardholder submission view
- Additional tabs such as Approvals, Check Details, and Multiple Settlements appear when relevant
Receipts
Receipts can be attached to a transaction by forwarding them to your account's receipt inbox via email. Any receipt that arrives in the inbox and matches the transaction will appear automatically in the receipt section.
Marking a Receipt as Missing
If a cardholder cannot provide a receipt — for example, because it was lost — you can record that instead of leaving the field blank:
- Open the transaction and go to the Details tab.
- In the receipt section, select the option to mark the receipt as missing.
- Choose a reason and, if needed, add a short explanation.
- Save the transaction.
This creates a clear record that the receipt was acknowledged as unavailable, rather than simply overlooked.
AI Receipt Review
When a receipt is processed, Topkey's AI may automatically review it. If AI extraction did not run on a receipt — or you want to run it again after making a correction — select Retry AI Review in the receipt section to queue the extraction again.
AI review results are shown alongside the receipt so you can confirm whether the details match the transaction. If the suggested details are not correct, you can dismiss the suggestion and code the transaction manually.
Memo
The memo field is a free-text note at the transaction level — use it to add context such as the purpose of the purchase or a guest's name (for example, "Smith guest check-in supplies"). Memos appear in search results, reports, and exports, and are pushed to your accounting platform in the description field where supported.
Memos are set at the transaction level. If a transaction has multiple splits, the memo applies to the whole transaction, not to individual splits.
Property and Category
You can set or change the property and category directly from the Details tab. Use the property search to find and select the correct property; the list includes all properties in your account, including property groups.
- Property is required if your account has the "Property required" submission rule enabled (individual card exemptions still apply).
- Category controls how the transaction is classified in owner statements and spend reports (also referred to as Topkey's Category — Bill to).
Line Splits
By default, every transaction has a single line covering the full amount under one property and category. If a charge needs to be divided — for example, supplies purchased for two different properties on one receipt — you can split it into multiple lines.
Creating a Split
- Open the transaction and go to the Details tab.
- Select Split to divide the transaction.
- For each split line, enter the amount, property, category, and GL code.
- Make sure the amounts across all split lines add up to the total transaction amount.
- Save your changes.
Each split carries its own property, category, and GL code assignment. Split data flows through to owner statements, property spend reports, and accounting pushes.
If you need to apply the same GL code to every split at once, open the GL code selector and use the Apply to all splits action. To clear all GL code assignments from the transaction and its splits in a single step, use the Clear all action in the same panel.
You can also bulk-edit property, category, or GL code across multiple splits on the same transaction without opening each split individually.
Removing a Split
To remove a split line, open the split and delete it. The transaction will revert to a single line and the full amount will be restored to the remaining split.
AI-Suggested GL Codes
Topkey's AI may suggest a GL code for a transaction based on the merchant, category, and other context. When a suggestion is available, you can:
- Accept the suggestion to apply it as the GL code.
- Reject the suggestion to dismiss it and set the code manually.
If you dismissed or corrected a prior suggestion and want a fresh recommendation, select Regenerate suggestion to ask the AI to try again.
Accounting Fields
The Activity tab (and, where visible, a dedicated accounting section) shows the GL code, accounting class, location, tax code, tracking fields, and vendor or customer mapping for the transaction. These values are pulled from your connected accounting platform — QuickBooks, NetSuite, Sage Intacct, or another supported integration.
A sync status badge indicates the current state:
- Pending — the transaction has not yet been pushed to your accounting platform
- Synced — the transaction was successfully pushed
- Error — the push failed; select the retry link to try again
Assigning and Reassigning
The Details tab shows who created the transaction (the cardholder) and who it is currently assigned to for follow-up. Admins can reassign the transaction to another team member — this sends that person a notification so they know action is needed.
Resending the Webform
If a cardholder needs to update their submission — for example, to swap a receipt or correct a memo — admins can select Resend webform to send them a new SMS link to the submission form.
Activity and Comments
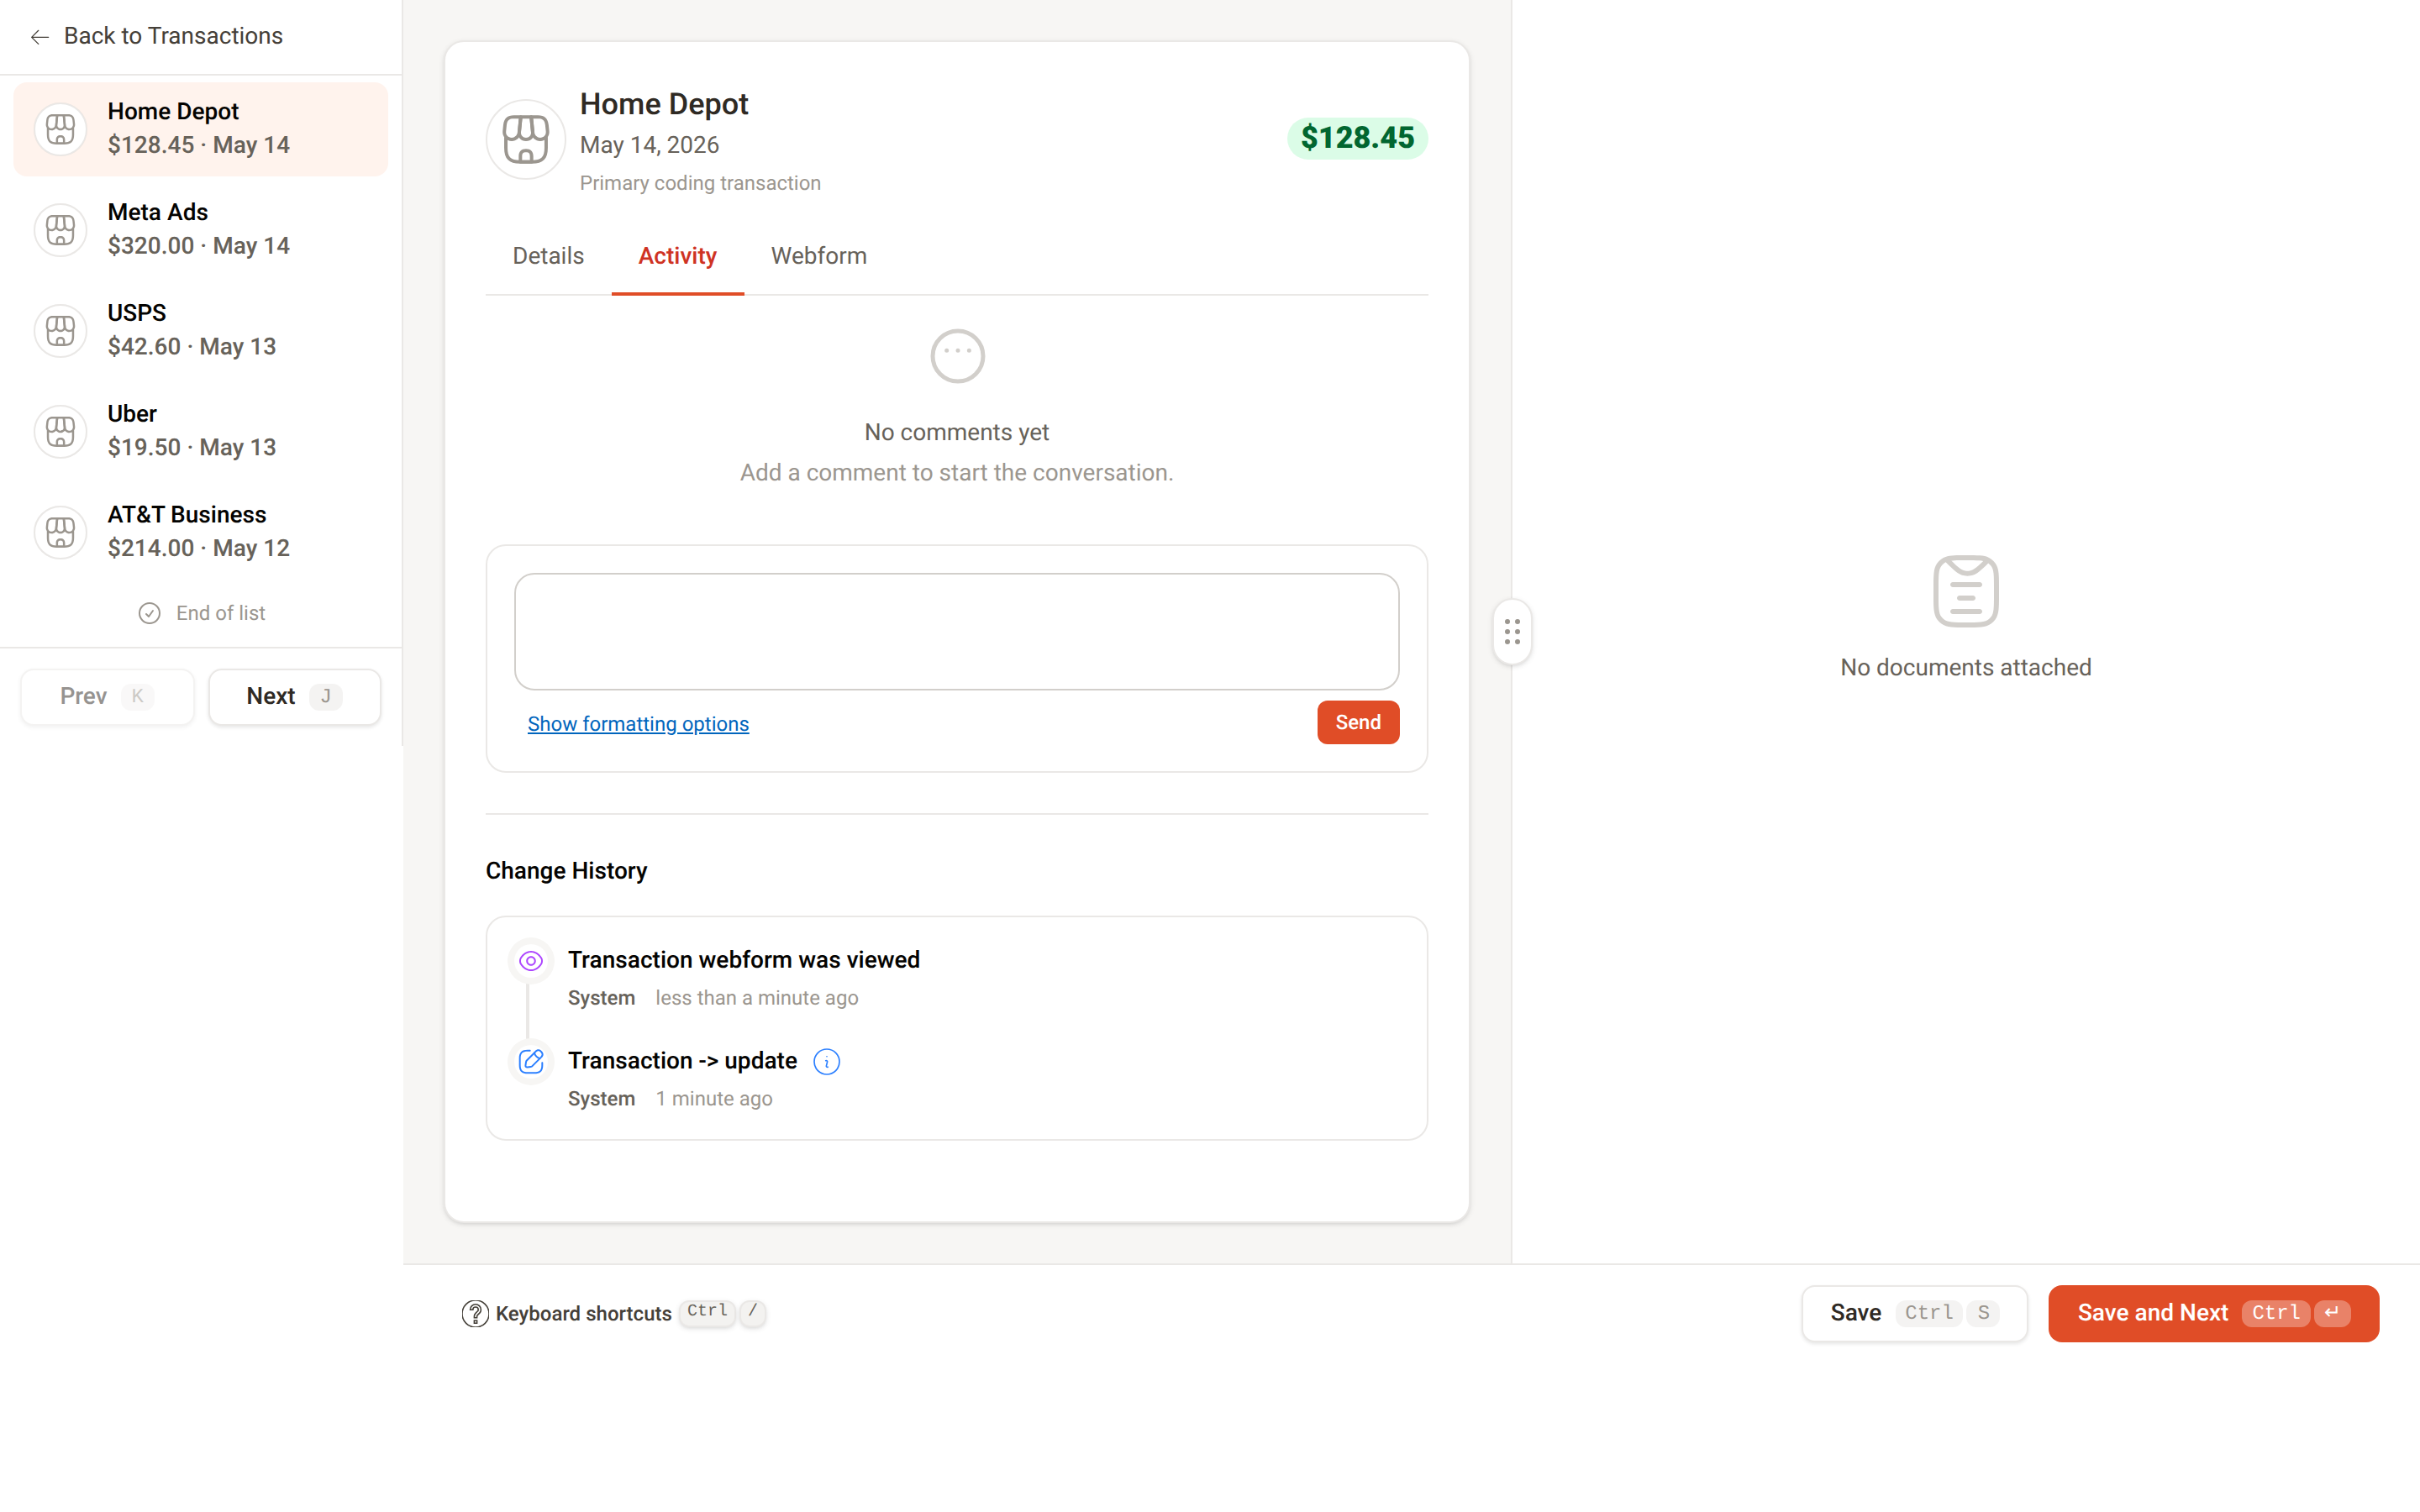
The Activity tab has two sections:
- Comments — anyone on the account can leave a note on the transaction. Use
@mentionsto notify a specific team member; they'll receive a notification with a link directly to the comment. - Change History — a chronological timeline of every change on the transaction: when the receipt arrived, who added the memo, who approved it, when it was pushed to accounting, and more. Each entry shows who made the change and when.
Archiving a Transaction
To remove a transaction from normal views and reporting without deleting it, you can archive it:
- Open the transaction.
- Select Archive from the transaction actions.
Archived transactions no longer appear in the standard transaction list or reports. To restore a transaction, open it from the archived view and select Unarchive.
Archiving a transaction removes it from owner statements and accounting exports. Make sure you intend to exclude it from reporting before archiving.
Transactions Index: Export and Display Options
From the transactions list, you have a few additional tools for working with transactions in bulk:
- Export to CSV — download a CSV file of all transactions matching your current filters.
- Download receipts as ZIP — download a ZIP archive containing all receipts for the currently filtered transactions.
- Hide completed transactions — toggle this display preference to show only transactions that still need attention, filtering out anything already marked complete.
Frequently Asked Questions
Can I add a memo to an individual split? No. Memos are set at the transaction level and apply to the transaction as a whole. If you need to distinguish between splits, use the description or notes fields within each split's coding fields, or use the category and GL code assignments to differentiate them.
What happens to split data when a transaction is pushed to my accounting platform? Each split is pushed as a separate line item, carrying its own property, category, and GL code. This means your accounting platform receives the full breakdown rather than a single lump-sum entry.
Can I recover an archived transaction? Yes. Locate the transaction using a filter that includes archived items, open it, and select Unarchive. It will return to your normal transaction views and reporting.
Questions? Contact Support