Bill Pay
Bill Approval Workflows
Bill approval workflows let you require one or more team members to review and approve bills before they can be paid. Use approval workflows to enforce financial controls, prevent unauthorized payments, and create a clear audit trail for your accounts payable process.
Why Approval Workflows Matter
Without approval controls, any team member with bill access can move a bill straight to payment. Approval workflows add a structured review step — ensuring that bills above a certain amount, from specific vendors, or tied to particular properties are reviewed by the right people before any money moves. This is especially important for larger operations where multiple people are entering bills on behalf of the business.
Setting Up Approval Rules
Navigate to Settings → Bills → Approval Workflows to configure your rules.

Workflow-Level Settings
At the top of the page, you'll find two optional settings that apply to the entire workflow:
- Lock records after approval — Prevents approved bills from being edited after they have been approved.
- Skip approval for bills created from Work Orders — Bills generated automatically from work orders bypass the approval process entirely.
Check either option if it fits your process, then scroll down to configure your rules.
Adding an Approval Rule
Each approval rule defines a dollar threshold and the approvers who must review bills that fall within that range.
Under Approval Rule 1, set the amount range:
- Enter a minimum amount in the If amount is greater or equal to field (for example,
500.00). - Enter a maximum amount in the and less than field. Leave this at a very high number (such as
999999.99) if you want the rule to apply to all bills above the minimum with no upper cap.
- Enter a minimum amount in the If amount is greater or equal to field (for example,
Under Approval Step 1, configure who must approve:
- Use the selector next to Request approval from to choose either any or all:
- Any — Only one of the listed approvers needs to approve the bill.
- All — Every listed approver must approve before the bill moves forward.
- Select one or more approvers from the list. Each selected approver appears as a tag you can remove if needed.
- Use the selector next to Request approval from to choose either any or all:
To require a second round of approvals (for example, a manager sign-off after a direct report approves), click Add another approval step and configure an additional approver group.
Adding Optional Conditions
By default, a rule applies to all bills that fall within the specified amount range. To narrow the rule to specific circumstances, expand Optional Conditions within the rule and choose from:
- Vendors — Limit the rule to bills from one or more specific vendors.
- Properties — Limit the rule to bills associated with specific properties.
- Property Groups — Limit the rule to bills tied to a group of properties.
- GL Categories — Limit the rule to bills assigned to specific general ledger categories.
You can combine multiple conditions within a single rule. A bill must match all specified conditions (and fall within the amount range) for the rule to apply.
Adding Multiple Rules
To create approval rules for different scenarios — for example, a lower threshold with one approver and a higher threshold requiring a different approver — click + Add rule to add a second rule block and configure it independently.
If you're new to approval workflows, start with a single rule based on an amount threshold (for example, all bills over $500). Once your team is comfortable with the process, you can layer in optional conditions to handle more specific scenarios.
- When you're done configuring all your rules, click Save.
If you remove all rules from an active workflow and save, any bills currently awaiting approval will be returned to Draft status and will need to be resubmitted.
How Bills Flow Through Approval
Once a workflow is configured, bills that match a rule follow this path:
- Draft — The bill is created and being edited.
- Submitted — A team member submits the bill for review.
- Needs Approval — Topkey detects that the bill matches an approval rule and routes it to the designated approver(s).
- Approved / Ready to Pay — All required approvals are collected and the bill is cleared for payment.
If an approver declines a bill, it is returned to Draft status. The submitter can edit the bill and resubmit it for approval.
Bills that do not match any configured rule skip the approval step entirely and move directly to Ready to Pay after submission.
Approving and Rejecting Bills
Approvers have two places to act on pending bills: the Needs Approval tab on the bill list, and the centralized Approvals inbox.
From the Needs Approval Tab
- Go to Bill Pay → Bills.
- Click the Needs Approval tab to see all bills currently waiting for review.
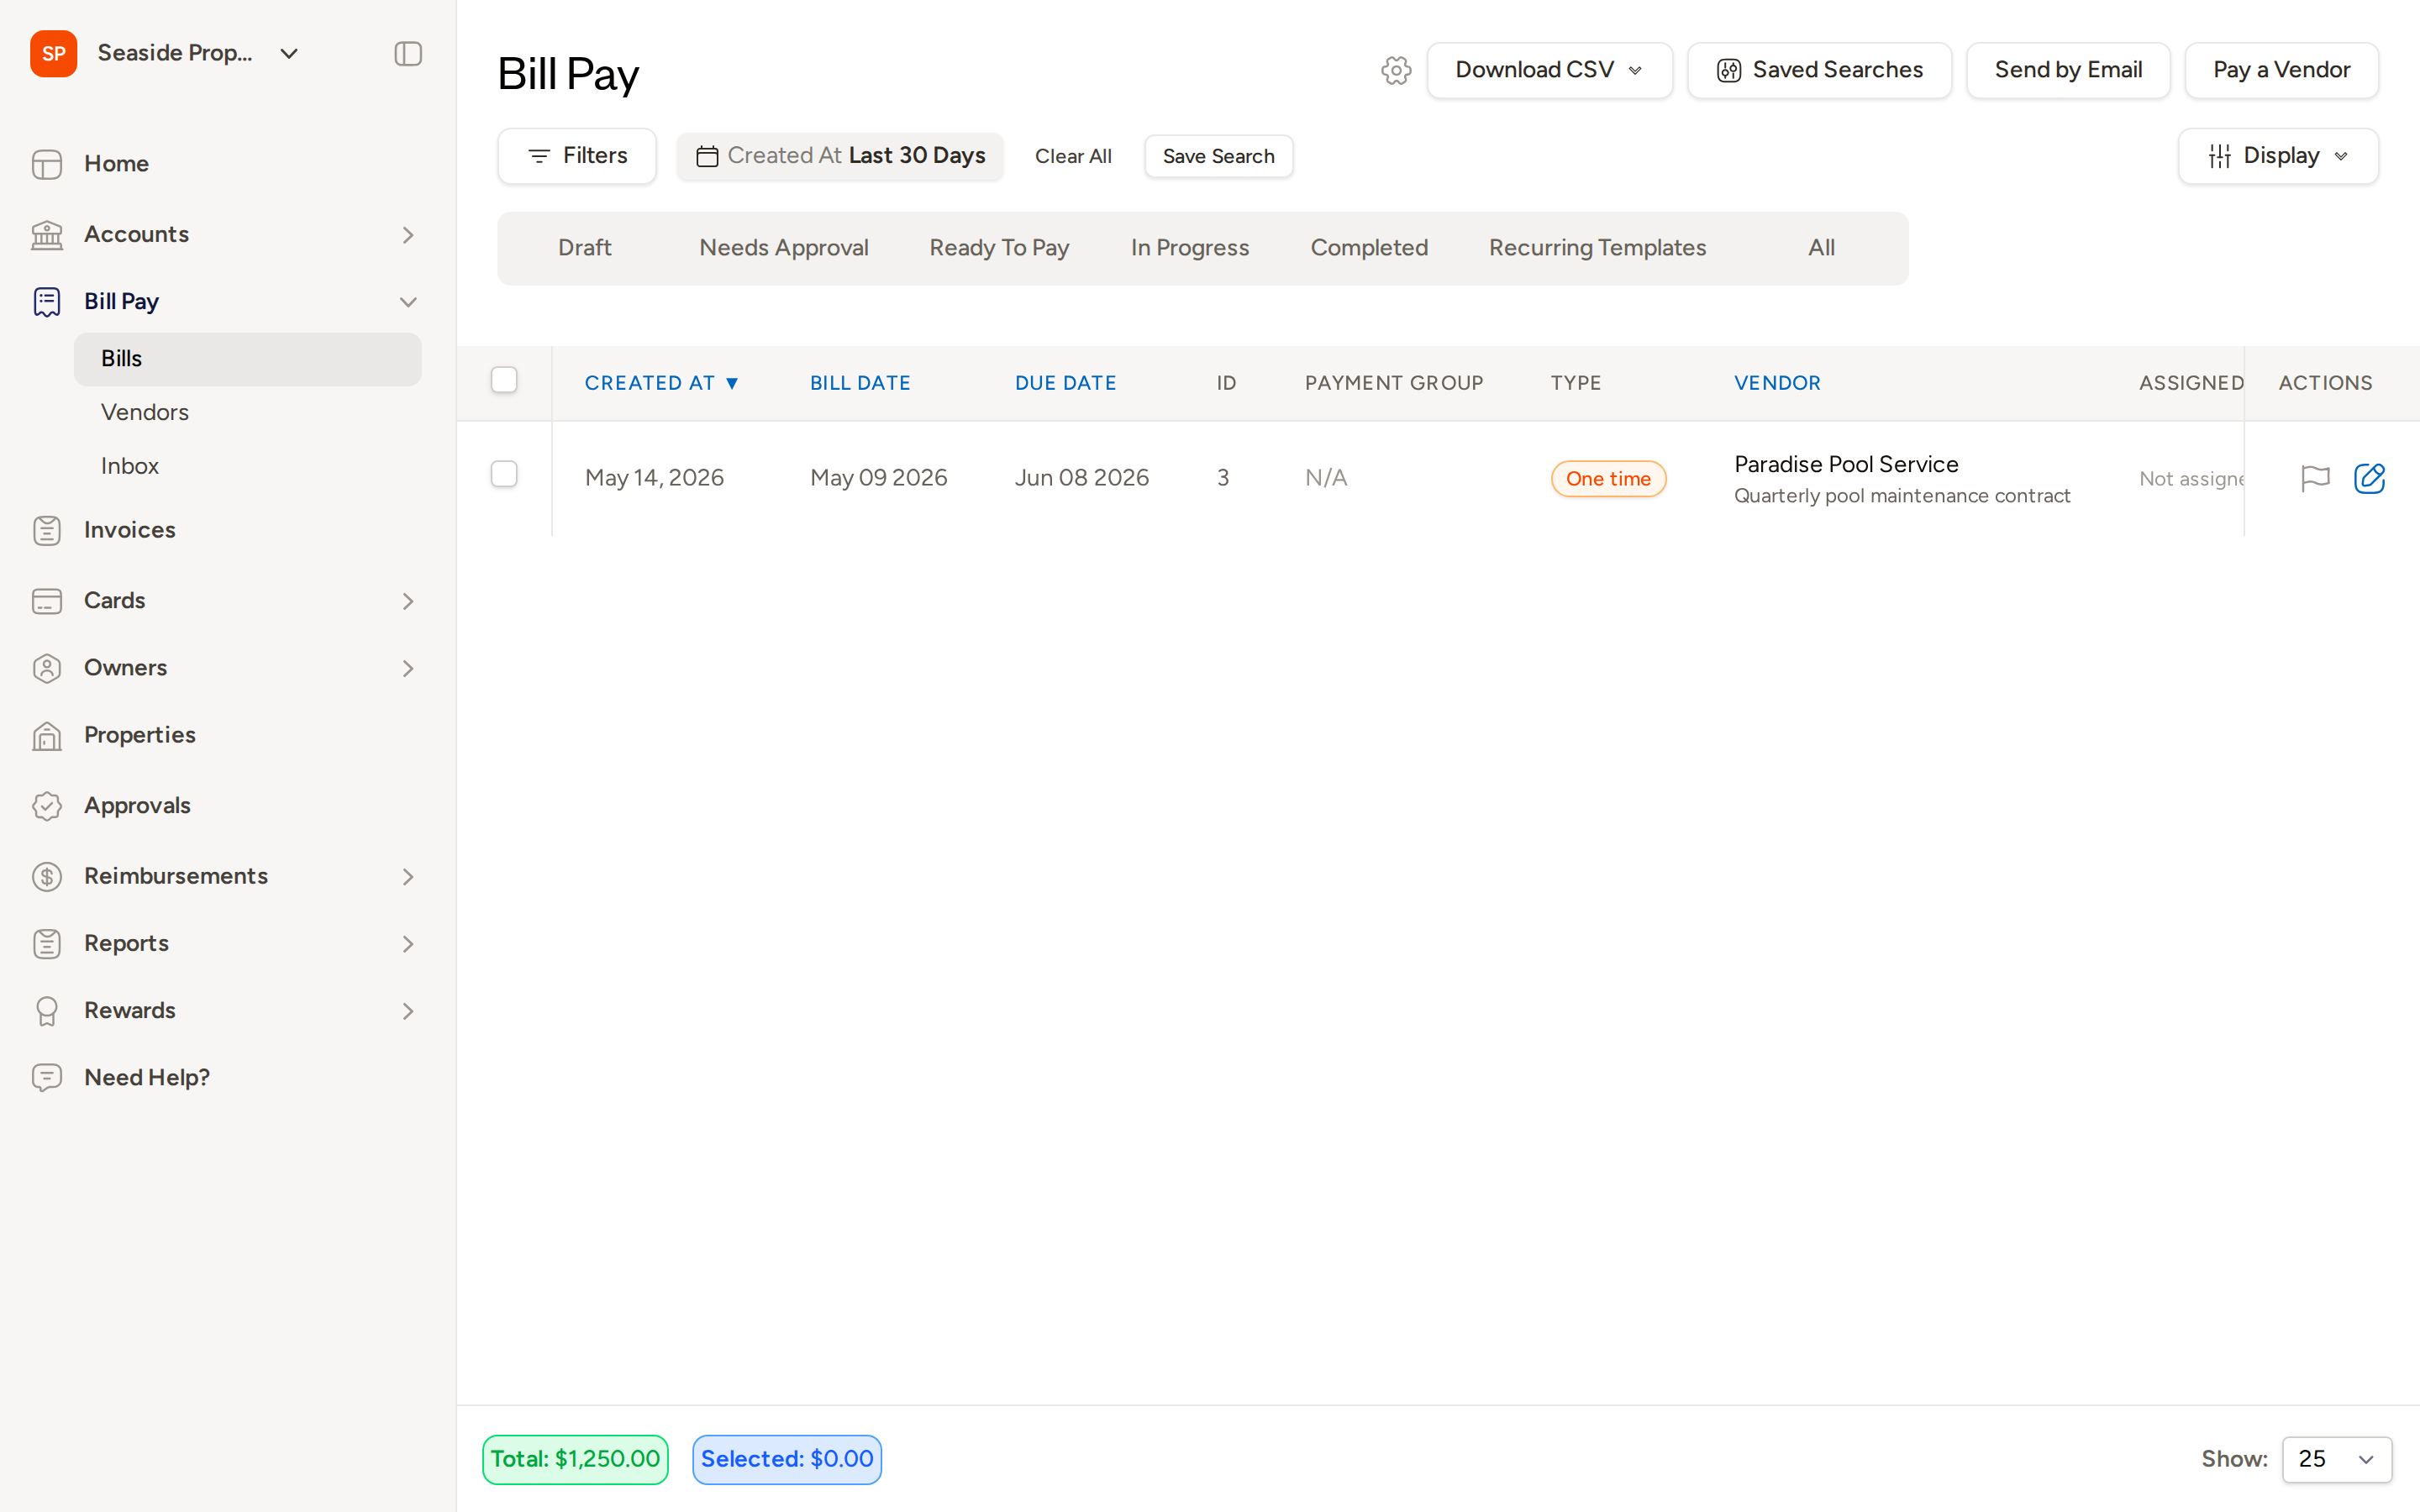
- Open a bill to review its details.
- Select Approve to approve the bill or Decline to return it to draft for revision.
Bulk Approving Bills
To approve multiple bills at once:
- From the Needs Approval tab, check the boxes next to the bills you want to approve.
- Use the bulk action bar that appears to select Approve.
Bulk approval is a fast way to clear a backlog of smaller bills that have already been reviewed offline.
From the Approvals Inbox
The Approvals inbox gives you a single centralized view of all pending approval requests across bill pay and other transaction types.
- Click Approvals in the main navigation.
- The inbox shows each pending request with columns for Created At, Requester, Type, Status, and Amount.
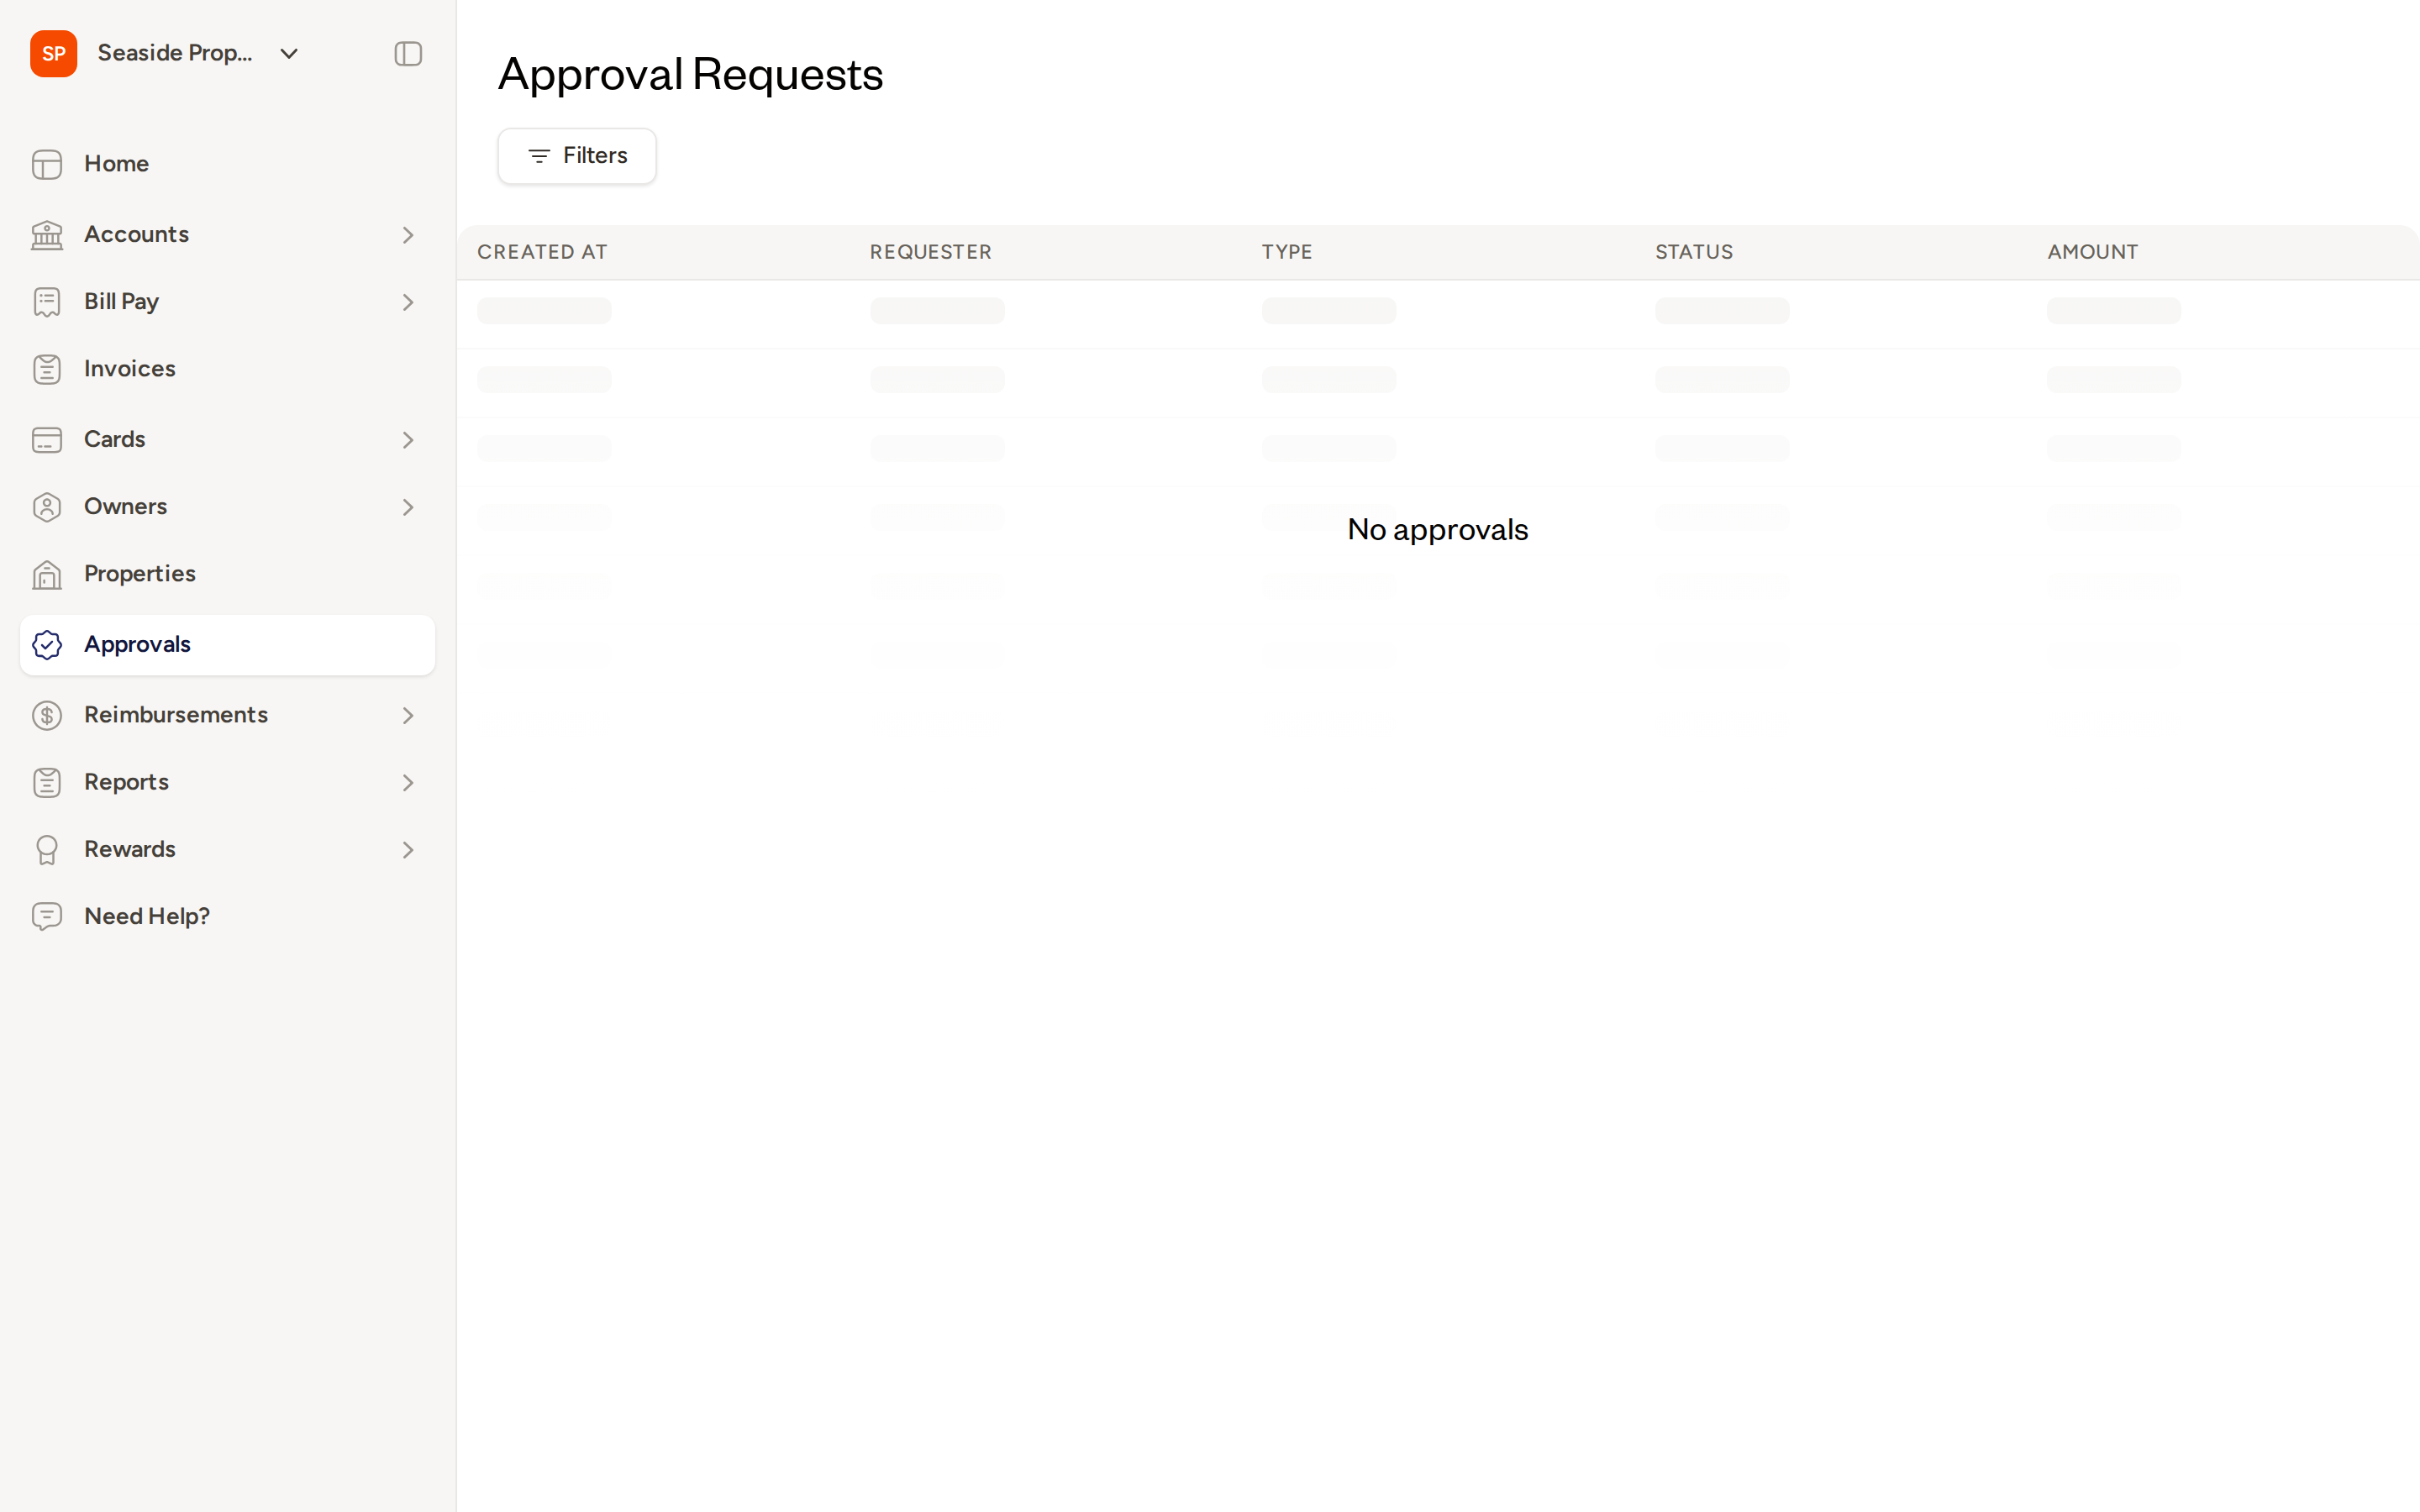
- Click on any row to open the associated bill and take action.
Use Filters to narrow the list by date, type, or status if you manage a high volume of approvals.
Notifications
When a bill is submitted and matches an approval rule, Topkey sends a notification to the designated approver(s) alerting them that a bill needs their review. Approvers do not need to manually check the queue — they are notified automatically so reviews happen promptly.
Best Practices
- Start simple. Set a single rule for bills over a meaningful threshold (such as $500) and assign one or two approvers. Get comfortable with the workflow before adding complexity.
- Use "Any of" for flexibility. When multiple people can cover approvals, selecting any prevents bottlenecks if someone is unavailable.
- Use "All of" for high-value bills. For large expenditures, requiring all named approvers to sign off adds an extra layer of financial control.
- Add conditions incrementally. Once the basic amount-threshold rule is running smoothly, layer in vendor or property conditions for higher-risk spending categories.
- Lock records after approval if you want to prevent edits once a bill has been reviewed and cleared.
Also Available for Other Transaction Types
The same rules-based approval workflow you configure here is also available for bank transfers, owner payment requests, and credit card transactions. Each can be configured independently using the Transfers, Owner Payments, and Credit Cards tabs on the Approvals settings page.
Frequently Asked Questions
What happens if a bill doesn't match any approval rule? Bills that don't match a configured rule are not held for approval. They move directly to Ready to Pay once submitted, with no approval step required.
Can I set up different approvers for different vendors or properties? Yes. Create separate approval rules and use the Optional Conditions section within each rule to target specific vendors, properties, or property groups. Each rule can have its own approver assignments.
What happens to a bill if an approver declines it? The bill is returned to Draft status. The person who submitted it can review the bill, make any necessary edits, and resubmit it for approval.
For additional help, Contact Support.