Integrations
Syncing to PMS / QuickBooks
Topkey acts as the central hub for your property management finances. Once transactions are coded, bills are approved, and work orders are ready, you can push all of that data to QuickBooks for accounting and to your PMS for operations — without re-entering anything manually. This page covers every sync path available in Topkey.
Before You Sync: Chart of Accounts and Tracking Categories
Before pushing any data to QuickBooks, make sure your GL codes and tracking categories are configured. Transactions and bills with missing or unmapped GL codes cannot sync and will appear in the queue with a Missing GL Code error.
Chart of Accounts
- Go to Settings → Accounting → Chart of Accounts.
- Review the list of accounts imported from QuickBooks.
- For each account, confirm that the correct GL code is mapped in Topkey.
- Activate the accounts your team uses; deactivate any that are outdated or unused so they don't appear as options when coding transactions.
Transactions assigned an unmapped or inactive GL code will fail to sync. Resolve any Missing GL Code errors in the sync queue before attempting a bulk push.
Tracking Categories
Topkey pulls tracking categories directly from your connected accounting system. The Settings → Accounting → Tracking Categories page shows all categories synced from that system, each with an active/inactive toggle. Only active categories appear as options when your team codes transactions or assigns properties.
Tracking categories are not QuickBooks-specific — they work across all supported accounting systems. The table below shows what each system calls them:
| Accounting System | Tracking Category Name |
|---|---|
| QuickBooks Online | Classes & Locations |
| QuickBooks Desktop | Classes & Departments |
| Xero | Tracking categories |
| Sage Intacct | Dimensions / Locations |
| Oracle NetSuite | Classes / Departments |
Why configure tracking categories? If your accounting system has dozens of classes or locations — many of which are no longer active — this page lets you deactivate the ones you don't use in Topkey. Only active categories surface to your staff when coding transactions or assigning properties, which reduces the chance of miscoding.
For example, a property management company with 50 QuickBooks classes might actively manage only 20 properties in Topkey. Deactivating the other 30 classes keeps the categorization list focused and clean.
Changes on the Tracking Categories page have no effect on your accounting system. They only control what Topkey displays to your team.
Syncing Card Transactions to QuickBooks
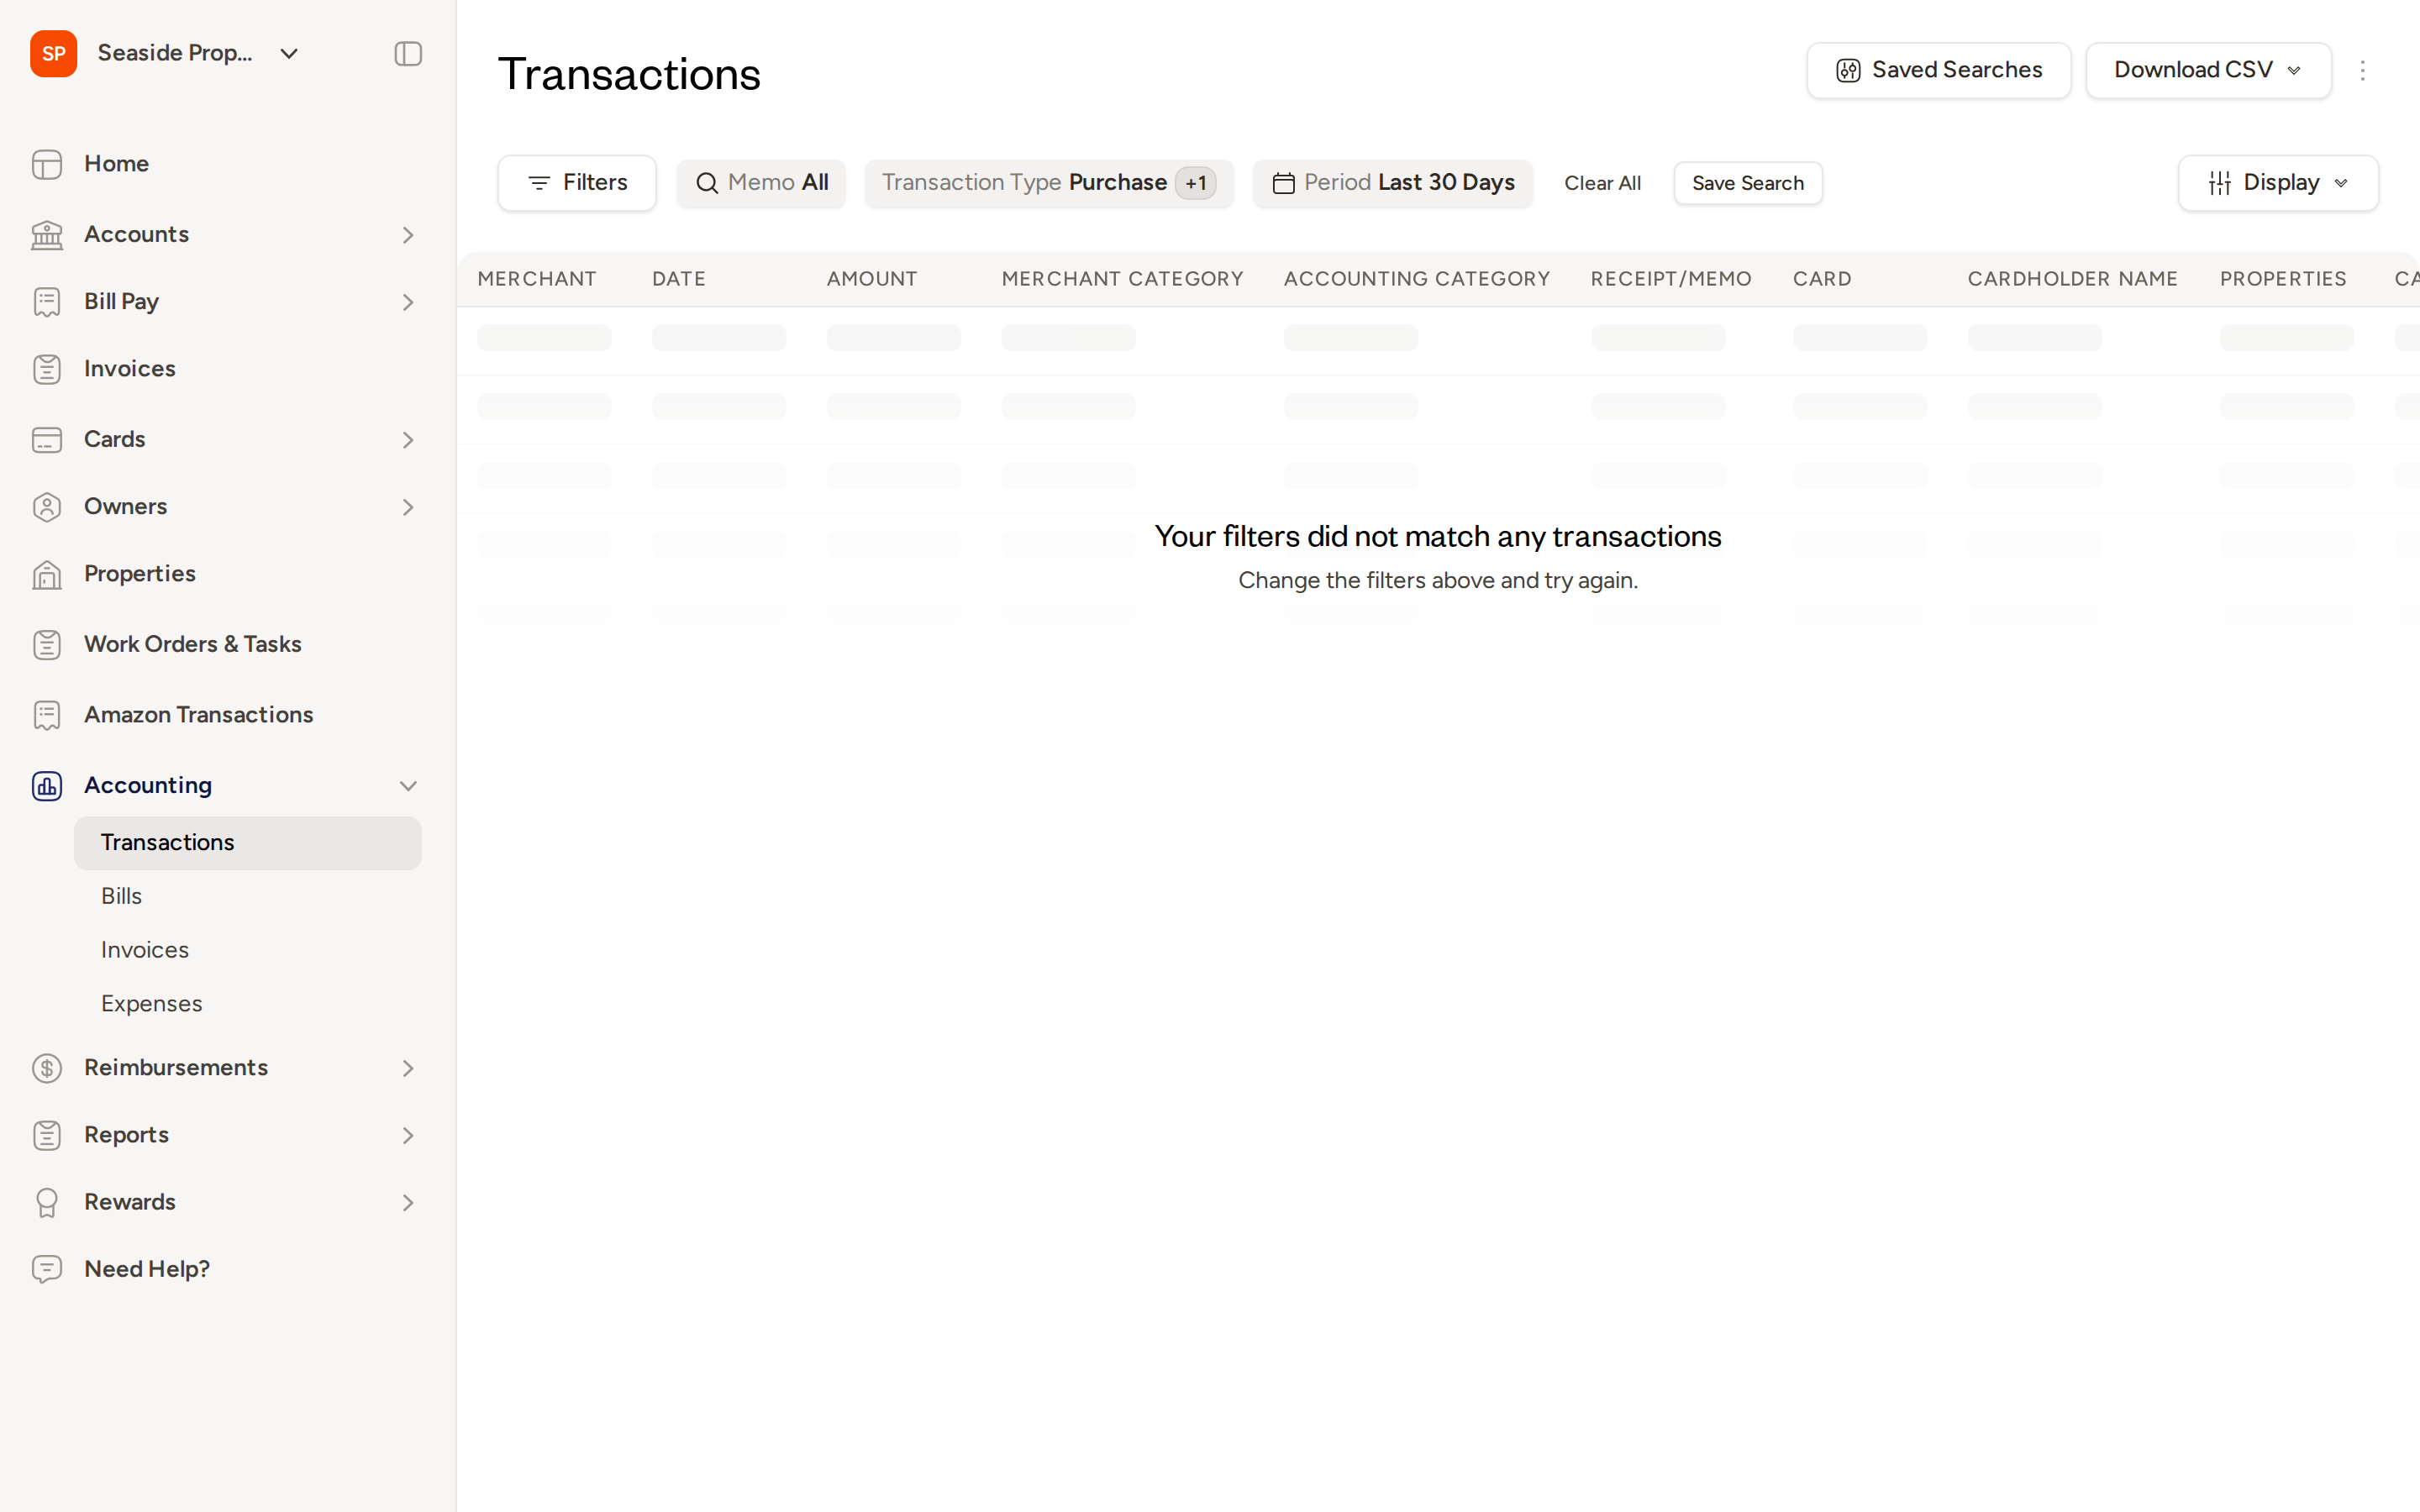
The Accounting → Transactions page (also accessible via Accounting → Sync → Transactions) is the sync queue for all card transactions that are ready to be pushed to QuickBooks. Card transactions do not sync automatically — you push them manually when they are coded and ready.
Each row in the queue shows:
- Merchant — where the purchase was made
- Date — the transaction date
- Amount — the transaction amount
- Accounting Category — the GL code assigned to the transaction
- Cardholder Name — the cardholder who made the purchase
- Sync Status — the current state of the sync
Sync Status Values
| Status | Meaning |
|---|---|
| Ready to Sync | The transaction is coded and ready to be pushed to QuickBooks. |
| Synced | The transaction has been successfully pushed. |
| Error | The push failed — click the error badge to see the QuickBooks error detail. |
| Skipped | The transaction was deliberately excluded from a sync batch. |
Bulk Sync
To push multiple transactions at once:
- Go to Accounting → Transactions.
- Select the checkboxes next to the transactions you want to sync.
- Click Sync to QuickBooks in the bulk actions bar.
- Topkey pushes all selected transactions to QuickBooks in one batch.
Individual Sync
To push a single transaction immediately:
- Open the transaction from the list.
- Click Sync on the transaction detail view.
Resolving Sync Errors
If a transaction fails to sync, an error badge appears in the Sync Status column. Click the badge to view the QuickBooks error detail. Common causes include:
- A missing or unmapped GL code
- An invalid or inactive QuickBooks account category
- A vendor that does not exist in QuickBooks
Fix the underlying issue (for example, map the GL code in Settings → Accounting → Chart of Accounts), then retry the sync.
Exporting the Transaction List to CSV
You can export the current transaction list to CSV for reporting or review:
- Apply any filters you want (date range, sync status, cardholder, etc.).
- Click Download CSV in the top-right corner of the Accounting → Transactions page.
- Topkey queues a background export and emails the CSV file to you when it is ready.
Use the date range and sync status filters to narrow the list to a specific period or to Ready to Sync transactions before exporting or syncing in bulk.
Syncing Bills to QuickBooks
Bills must also be pushed to QuickBooks manually. They do not sync automatically when approved or paid.
You can initiate a bill sync from two places:
- Bill Pay → Bills
- Accounting → Bills (the Bills tab within the Accounting Sync area)
Requirements Before Syncing
A bill must be in Approved or Paid status before it can be pushed to QuickBooks.
How to Sync Bills
- Go to Bill Pay → Bills or Accounting → Bills.
- Select the bills you want to sync using the checkboxes.
- Click Sync to QuickBooks from the bulk actions bar.
Topkey pushes each bill to QuickBooks as a vendor bill, matching to the vendor by name or QuickBooks supplier ID.
After Syncing
Once a bill syncs successfully, it displays:
- A QuickBooks reference number linked back to the vendor bill in QuickBooks
- The sync date confirming when the push occurred
If a vendor in Topkey does not match a supplier name or ID in QuickBooks, the bill sync will fail. Ensure your vendor names in Topkey are consistent with your QuickBooks supplier records before syncing.
Syncing Reservations and Owner Charges to QuickBooks
Reservation-based income — including owner charges — is synced from Accounting → Reservations.
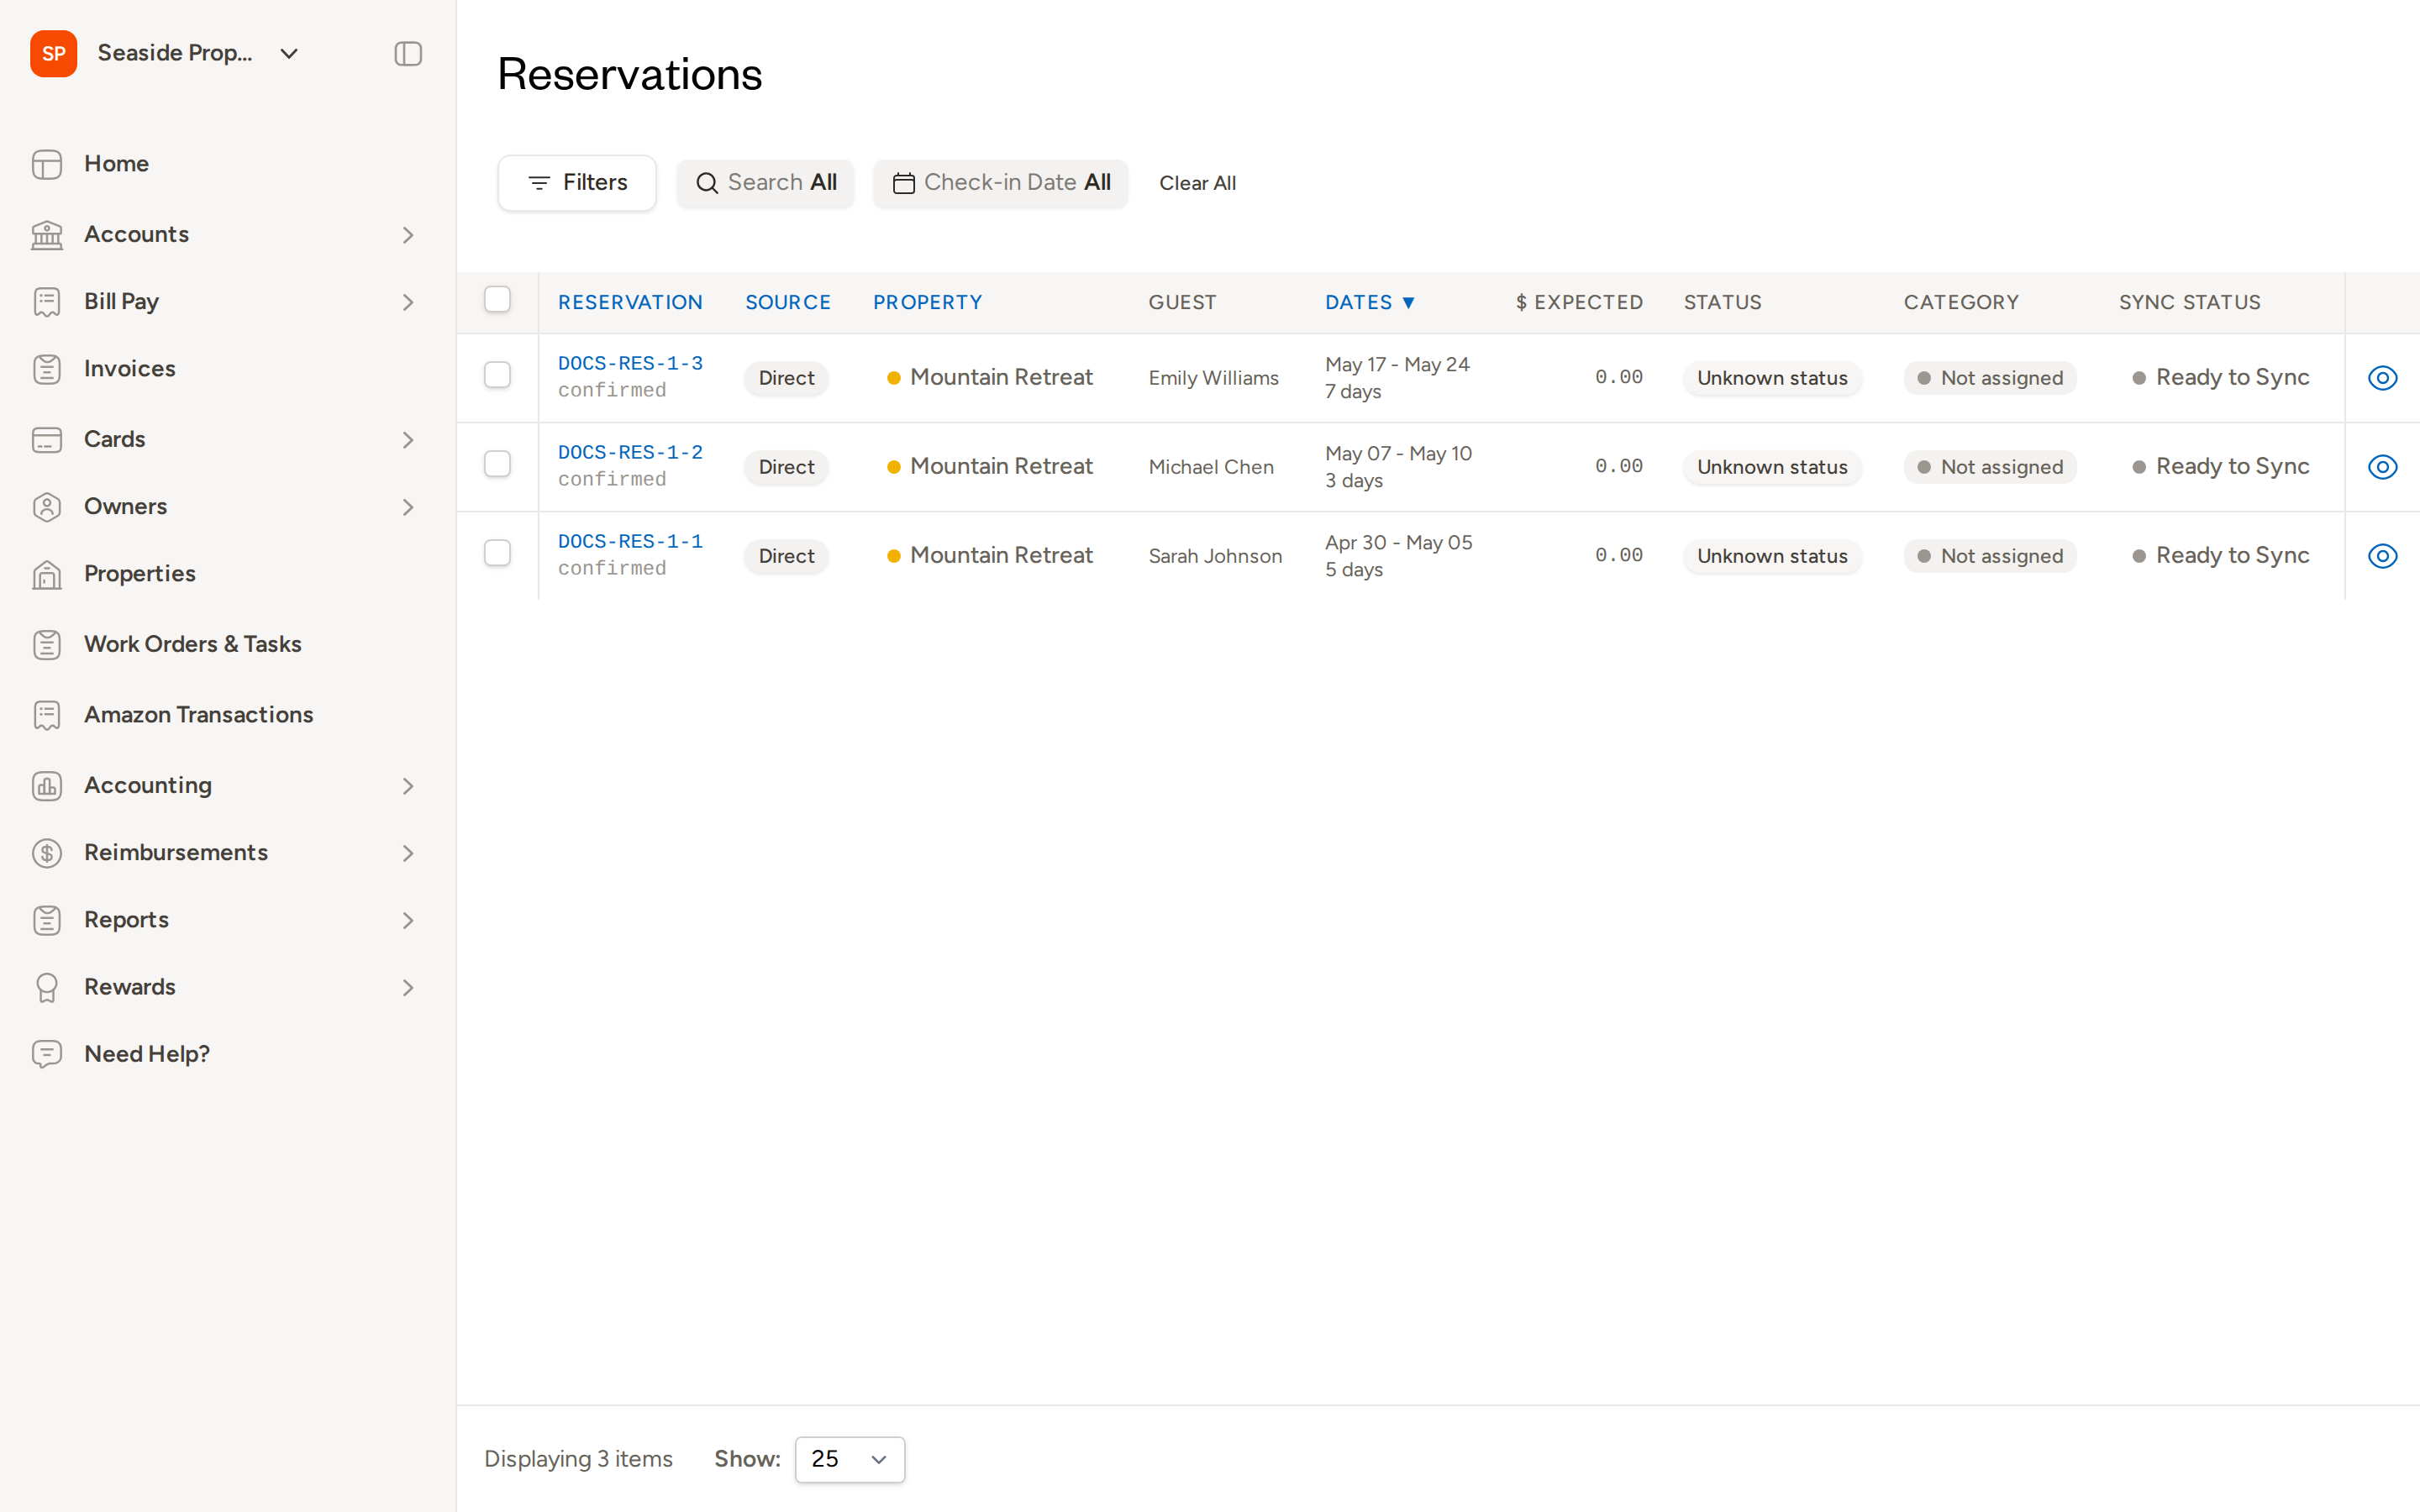
Each row shows the reservation, source, property, guest, check-in and check-out dates, expected amount, reservation status, accounting category, and sync status. Reservations with a Ready to Sync status are ready to be pushed.
How to Sync Reservations
- Go to Accounting → Reservations.
- Use the Check-in Date filter or the Filters panel to focus on the period you want to sync.
- Map each reservation item to the correct QuickBooks income account using the Category column. Reservations showing Not assigned must be categorized before syncing.
- Select the reservations you want to push using the checkboxes.
- Click Sync to QuickBooks from the bulk actions bar.
Topkey creates the corresponding journal entry or invoice in QuickBooks for each reservation.
Use the date range filters to scope the queue to a specific month or reporting period before syncing. This helps ensure you push complete, accurate data for each accounting period.
Pushing Work Orders to Your PMS
Topkey supports creating and pushing work orders to your PMS from multiple places in the product. Each entry point is designed for a different workflow — choose the one that fits how the work originated.
The work order name used in Topkey (for example, "Task" or "Work Order") may reflect the terminology used by your connected PMS.
1. From the Transactions Page
Navigate to Transactions in the left sidebar.
- Each transaction row (or split row) has a Create Work Order button. Click it to open the work order creation form for that transaction.
- To create work orders for multiple transactions at once, select the checkboxes next to the transactions you want, then choose Create Work Orders from the bulk actions bar. This opens a bulk-create form where you can review and edit each work order before submitting.
- To link a transaction to an existing work order already in Topkey, click the Attach button on the transaction row and search for the work order you want to associate.
2. From the Bills Page
Navigate to Bill Pay → Bills.
- Each bill row (or bill line item) has a Create Work Order button. Click it to open the work order creation form for that bill.
- To create work orders for multiple bills at once, select the bills you want, then choose Create Work Orders from the bulk actions bar.
- To link a bill line item to an existing work order, use the Attach option on the line item row.
3. From Reimbursements / Expenses
Navigate to Reimbursements in the left sidebar, then open the Expenses view.
- Each approved expense row has a Create Work Order button.
- To push multiple expenses at once, select the expenses you want and choose Create Work Orders from the bulk actions bar.
This is the primary path for converting employee-submitted expense reports into maintenance tasks or expense records in your PMS.
4. From Inventory Charges
Navigate to Inventory → Reports → Charges.
- Switch to the flat (ungrouped) view to see individual checkout lines.
- Each checkout line has a Create work order button and an Attach to work order button.
- To process multiple checkout lines at once, select them using the checkboxes and use the toolbar to create or attach them to work orders in bulk.
5. From the Work Orders Module
Navigate to Work Orders & Tasks in the left sidebar.
Creating a standalone work order: Click New Work Order in the page header to create a work order from scratch — without linking it to a specific transaction, bill, or expense. This is useful when maintenance work needs to be logged and pushed to the PMS directly.
Bulk syncing draft work orders: If work orders were created internally (for example, by a Breezeway task hook or a previous failed push), you can send them to the PMS in a batch:
- Go to Work Orders & Tasks.
- Select the checkboxes next to the draft work orders you want to push.
- Choose Send to PMS from the bulk actions bar.
- A review screen opens showing each selected work order. Any validation errors appear inline so you can fix them before submitting.
- Click Send to PMS to confirm. Topkey queues all selected work orders for sync and shows a confirmation message.
The Send to PMS bulk action is the right path when work orders were saved in Topkey first — for example, after a previous failed push — and need to be re-sent. It is separate from creating new work orders from source items.
6. From Recurring Work Order Schedules
Navigate to Work Orders & Tasks → Recurring Schedules.
You can configure rules that automatically create work orders on a repeating schedule. Once a recurring schedule is active, Topkey generates the work orders on the defined cadence and pushes them to your PMS automatically — no manual action required.
This is ideal for routine maintenance tasks (such as monthly inspections or seasonal servicing) that occur at every property on a predictable schedule.
Status Updates Flowing Back from Your PMS
Once a work order is pushed to your PMS, Topkey stays in sync with what happens next. As your operations team updates tasks in the PMS — for example, marking a task as In Progress or Finished — those status changes are reflected back in Topkey automatically.
This means:
- Your operations team can continue working in the PMS as they normally would.
- Finance and reporting in Topkey stay current without any duplicate data entry.
- You can filter and report on work order status in Topkey even if the work is being executed entirely within your PMS.
Frequently Asked Questions
Do transactions and bills sync to QuickBooks automatically when they are approved? No. Both card transactions and bills require a manual push. Transactions must be pushed from Accounting → Transactions, and bills must be pushed from Accounting → Bills or Bill Pay → Bills. Neither syncs automatically when approved or paid.
What should I do if a transaction shows an Error status in the sync queue? Click the error badge in the Sync Status column to view the QuickBooks error detail. The most common causes are a missing GL code or a category that doesn't match an active account in QuickBooks. Fix the issue — for example, by mapping the GL code in Settings → Accounting → Chart of Accounts — and then retry the sync.
Can I push the same work order to the PMS more than once? If a work order was already successfully synced (status: Saved), it will be flagged in the bulk sync review screen and excluded from the push. If a previous push failed, you can correct the work order and re-send it using the Send to PMS bulk action from the Work Orders page.
Questions? Contact Support